Transform Your Garden with a Koi Pond Built with Railway Sleepers
Introduction
Are you tired of staring at your dull garden and wishing it had more character? Consider adding a koi pond to elevate your outdoor space. And if you want to take the project a step further, building a koi pond with railway sleepers is a unique and eye-catching way to add style and function to your garden. With this guide, you’ll learn everything you need to know to build a stunning koi pond with railway sleepers.
What Are Railway Sleepers?
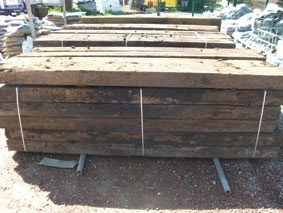
Before we dive into the project, let’s briefly define what railway sleepers are. These are wooden beams that were originally used to support railway tracks in the 19th and 20th centuries. Nowadays, railway sleepers are repurposed for construction and landscaping, as they are sturdy, durable, and have a unique aesthetic.
Why Choose Railway Sleepers for a Koi Pond?
When it comes to building a koi pond, there are many materials you can choose from, such as concrete, stone, or plastic. However, using railway sleepers brings several benefits:
- Unique and rustic look: Railway sleepers have a distinctive texture and color, which can add character and charm to your koi pond.
- Affordability: Compared to other materials, railway sleepers are relatively inexpensive, especially if you buy them from a salvage yard or second-hand dealer.
- Ease of use: Railway sleepers are easy to handle, cut, and shape without specialized tools. They are also versatile, as you can use them for the frame, decking, and edging of your koi pond.
- Sturdiness: Thanks to their original use, railway sleepers are built to withstand heavy loads and constant wear and tear. This means that your koi pond will be sturdy and long-lasting.
Step-by-Step Guide to Building a Koi Pond with Railway Sleepers
Now that you know why railway sleepers are a great choice for your koi pond, let’s walk through the construction process. Keep in mind that this is a general guide, and the specific dimensions and measurements will depend on the size and shape of your koi pond.
Materials You’ll Need:
- Railway sleepers (enough to frame and deck your koi pond)
- Power saw
- Electric drill
- Stainless steel screws or nails
- Rubber liner
- Gravel
- Filter system or pump
- Koi fish (optional, but highly recommended!)
Step 1: Plan and Design Your Koi Pond
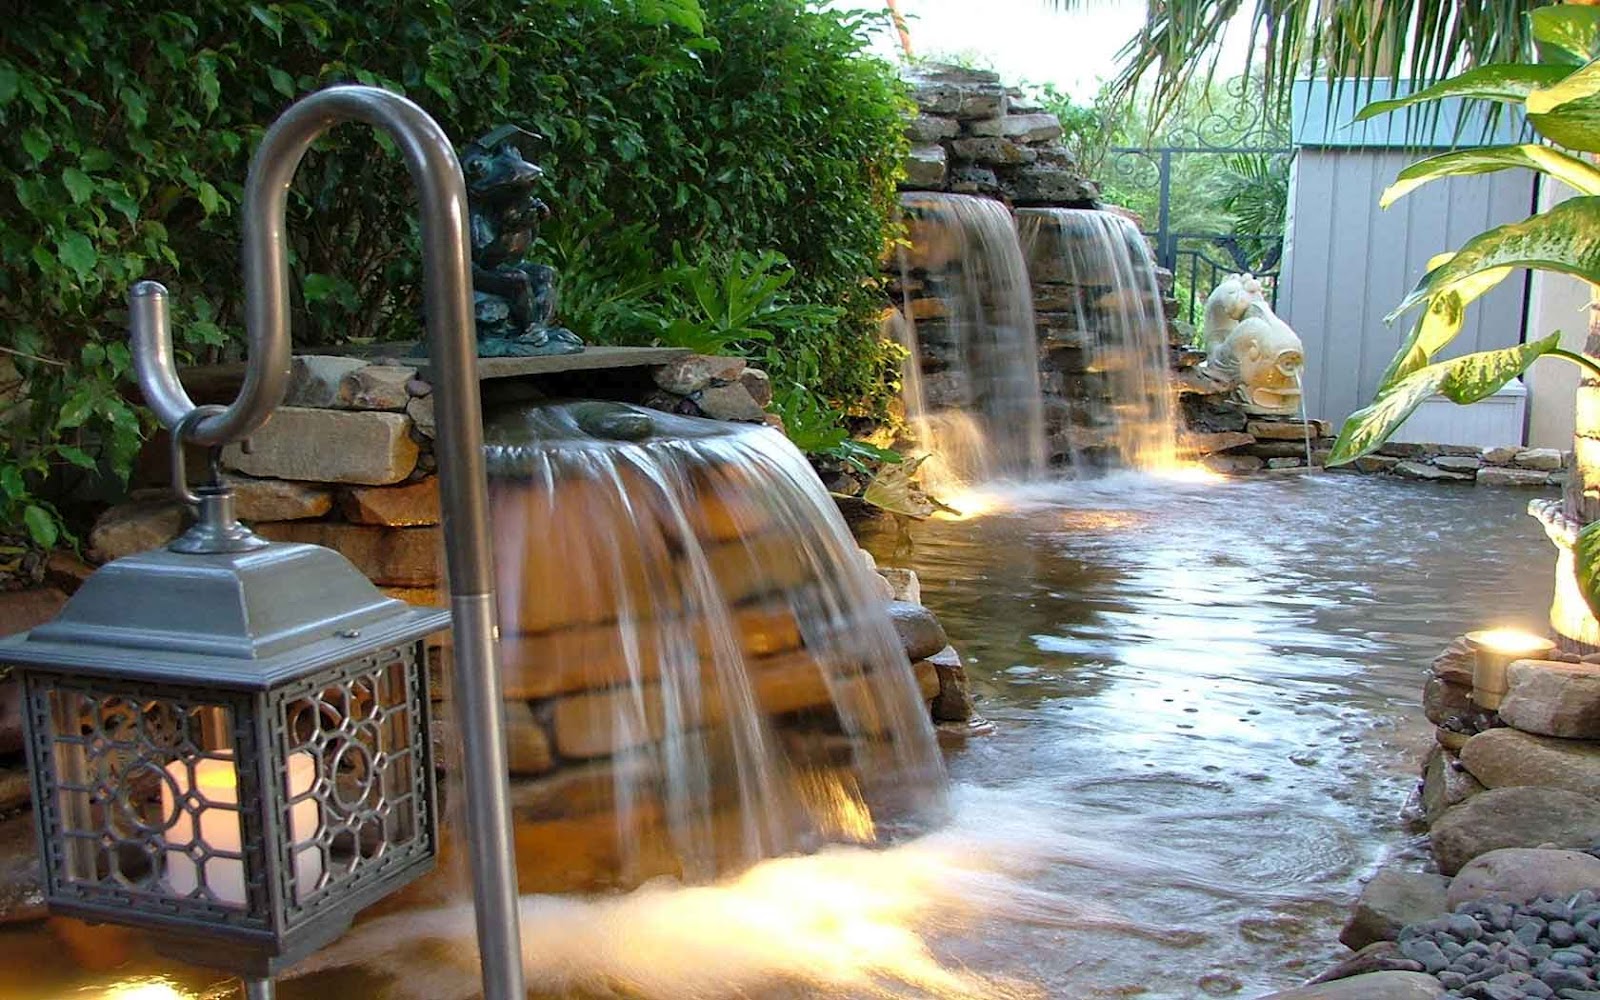
Before you start building, you’ll need to decide the size, depth, and shape of your koi pond. Keep in mind that koi fish require a certain amount of space to grow and thrive, so make sure your pond is large enough. You may also want to incorporate additional features, such as a waterfall, a fountain, or aquatic plants.
Step 2: Prepare the Foundation
Clear the area where you want to place your koi pond of any vegetation, rocks, or debris. Then, dig a hole that matches the size and shape of your koi pond, making sure to slope the bottom slightly to ensure proper drainage. Line the hole with sand, and compact it with a tamper to create a level surface.
Step 3: Build the Frame
Cut your railway sleepers to the desired lengths with a power saw. Use the drilled holes in the railway sleepers to place the screws or nails, attaching them to create the frame. Make sure the corners are sturdy and there are no gaps. You may want to use additional vertical beams in the corners for added support.
Step 4: Deck the Pond
Now you’ll use more railway sleepers to create a decking surface around the pond. Cut the railway sleepers to the desired lengths, and attach them to the frame with screws or nails. Leave a small gap between each sleeper to ensure proper drainage. You may want to treat the railway sleepers with a wood preserver to protect them from moisture and decay.
Step 5: Install the Liner
Place the rubber liner inside the frame, making sure it covers the bottom and sides of the pond. Press it firmly against the sand to create a smooth surface, and trim any excess with a sharp knife. You may want to use a non-toxic sealant around the edges of the pond to prevent leaks.
Step 6: Add Gravel and Water
Cover the bottom of the pond with a layer of gravel, which will provide a natural look and help keep the water clean. Then, slowly add water to your pond, making sure it’s level and doesn’t overflow. Let the water settle overnight before adding any fish or plants.
Step 7: Install the Filter System or Pump
To keep your koi pond healthy and clear, you’ll need to install a filter system or pump. This will circulate the water and remove any debris or waste. Choose a system that matches the size of your pond, and follow the manufacturer’s instructions for installation and maintenance.
Conclusion
Congratulations, you’ve now built your own koi pond with railway sleepers! This project requires some effort and planning, but the results are worth it. Your new koi pond will not only add beauty and elegance to your garden, but also create a relaxing and soothing atmosphere. We hope you enjoy your new outdoor oasis.

Image source: Pexels.com

Image source: Pexels.com

Image source: Pexels.com

Image source: Pexels.com

Image source: Pexels.com

Image source: Pexels.com

Image source: Pexels.com

Image source: Pexels.com

Image source: Pexels.com

Image source: Pexels.com