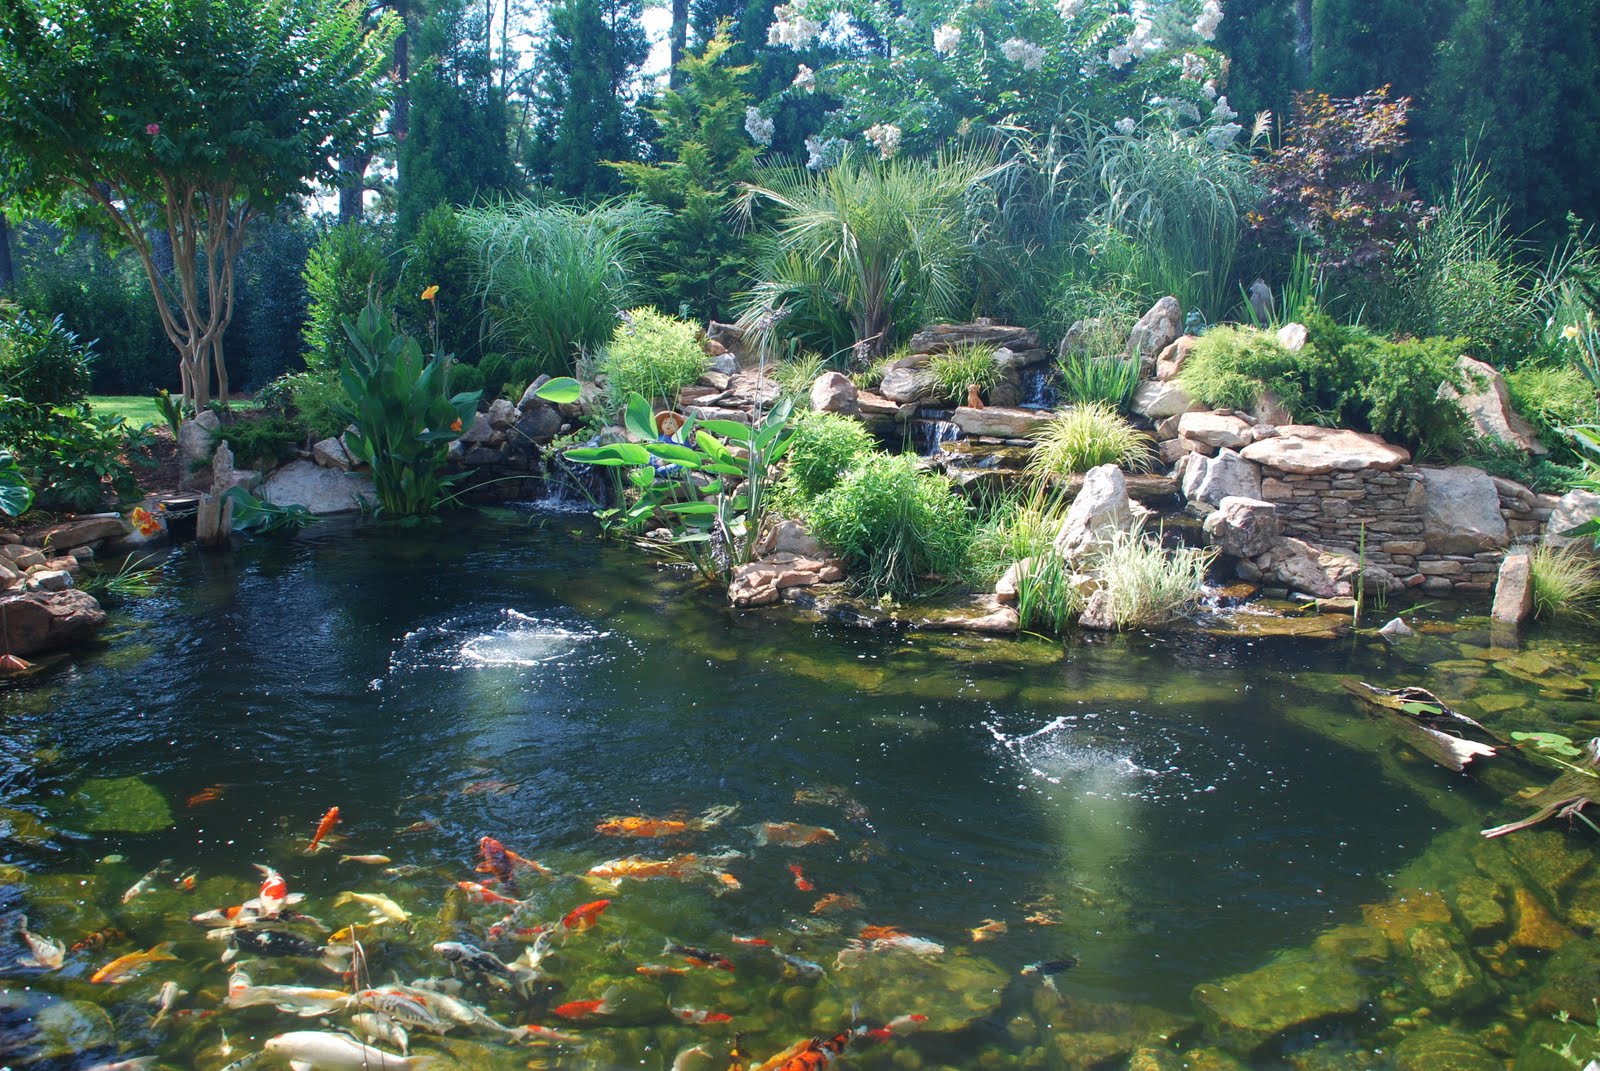
The Ultimate Guide to Vacuuming Your Koi Pond
Introduction
Koi ponds are incredibly beautiful and add a unique and calming element to any garden or backyard. However, maintaining them can be a challenge, and regular cleaning is an essential part of keeping your koi pond thriving. Vacuuming your koi pond is a crucial step in maintaining its cleanliness, but many pond owners are unaware of how to do it correctly.
Why Do You Need to Vacuum Your Koi Pond?
A koi pond is a delicate ecosystem and requires a clean environment for the fish to thrive. Over time, debris like leaves, sticks, and fish waste can build up at the bottom of the pond, leading to a toxic environment that can harm your fish. Vacuuming your koi pond is crucial to removing this debris and keeping the water clean.
When is the Right Time to Vacuum Your Koi Pond?
It is recommended to vacuum your koi pond at least twice a year, depending on your location and the weather. If you live in an area with lots of trees, vacuuming your pond more frequently might be necessary. The best time to vacuum your pond is during the spring and fall when there is less debris to contend with, and the weather is mild.
What Do You Need to Vacuum Your Koi Pond?
To vacuum your koi pond, you will need a few essential tools. These include:
- A pond vacuum or a pond skimmer
- A garden hose
- A clean, empty bucket
- Rubber gloves
- A clean filter media
Steps to Vacuum your Koi Pond
Step 1: Prepare your Pond
First, you need to prepare your pond to ensure the vacuuming process is smooth. Start by turning off the pump and filter system to prevent debris from getting trapped in the system and clogging the filter. Next, remove any floating debris using a fish net to make the vacuuming process more effective. Additionally, make sure your pond water level is appropriate. The water level should not be too high or too low, as this can affect the suction power of the vacuum.
Step 2: Connect the Vacuum
Connect the vacuum to the garden hose and place the vacuum inside the pond. The vacuum should be turned on to create suction that will pull the debris from the bottom of the pond. If you are using a pond skimmer, connect it to the garden hose and skim the debris from the surface of the pond.
Step 3: Start Vacuuming
Begin vacuuming the bottom of the pond, working your way across the bottom in a grid pattern. Make sure to remove as much debris as possible, as any leftover debris can decompose and release harmful toxins into the water.
Step 4: Empty the Vacuum
As you vacuum, debris will begin to fill the bucket connected to the vacuum. When it gets full, turn off the vacuum, disconnect it from the garden hose, and dump the debris into a compost bin or trash can. Repeat this process until you have vacuumed the entire pond.
Step 5: Rinse and Reconnect Water Systems
After you have finished vacuuming, rinse the filter media to ensure it is clean and free of any debris. Next, reconnect the pump and filter system and turn it on. Allow the water to circulate for at least an hour before reintroducing your fish into the pond.
Conclusion
Vacuuming your koi pond is an essential step in maintaining its cleanliness and ensuring your fish thrive. Regular vacuuming, along with other maintenance tasks like filter cleaning and water testing, can help keep your pond in tip-top shape. With a little effort and the right tools, you can keep your koi pond looking beautiful for years to come.


