The Ultimate Guide to Installing a Bottom Drain in Your Koi Pond
Introduction
Koi ponds are a beautiful addition to any home, but they require a lot of maintenance to keep them in top condition. Installing a bottom drain is an excellent way to improve the filtration system of your pond and help keep the water clean and clear. In this article, we will take you through the steps of how to install a bottom drain in your koi pond, so you can enjoy your fish and the serenity of the water feature for years to come.
What is a bottom drain?
A bottom drain is a plumbing device that is typically installed at the lowest point of the pond. Its purpose is to remove debris and waste that settle at the bottom of the pond, where they can decompose and create toxic gases that harm fish and aquatic plants.

Tools and Materials Needed
- Bottom drain kit, including drain, gasket, and screws
- PVC piping and fittings
- PVC cement
- Hole saw or jigsaw
- Cordless drill
- Tape measure
- Marker
Step-by-Step Guide
Step 1: Find the Lowest Point of the Pond
The first step is to locate the lowest point of the pond where the bottom drain will be installed. This is important because the drain needs to be positioned where debris and waste are most likely to collect. Once you have identified the location, mark it with a waterproof marker.

Step 2: Cut the Hole in the Pond Liner
Using a hole saw or jigsaw, cut a hole in the pond liner at the marked spot. Make sure the hole is slightly smaller than the diameter of the bottom drain. This will ensure a snug fit and prevent leaks.

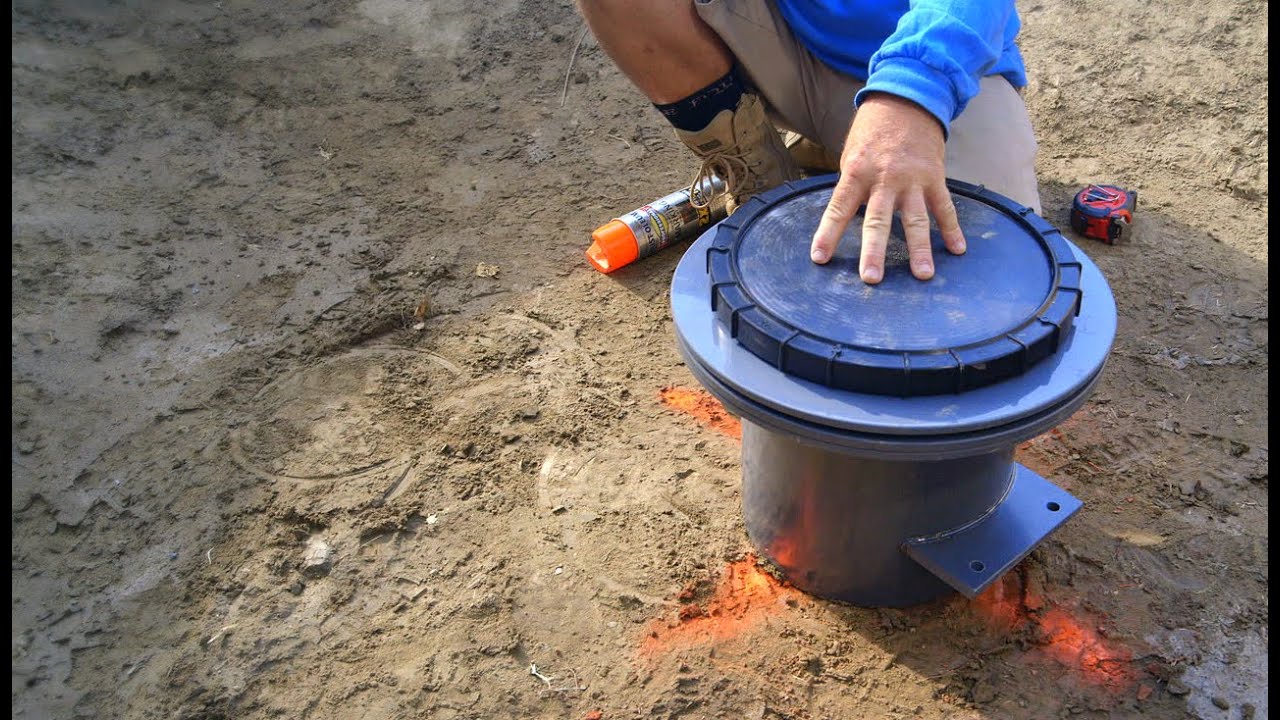
Step 3: Install the Bottom Drain
Place the drain in the hole and secure it with the gasket and screws provided in the bottom drain kit. Make sure the drain is level and seated firmly in the hole.

Step 4: Connect the PVC Piping
Attach the PVC piping and fittings to the bottom drain and run it to the external filtration system. Use PVC cement to secure the connections and prevent leaks. Make sure the piping is sloped downward to allow water to flow freely and prevent clogs.

Step 5: Test the System
Turn on the pump and check for leaks. Allow the system to run for a few hours to test its effectiveness. If you notice any issues, adjust the piping or connections accordingly.

Conclusion
Installing a bottom drain is a crucial element of maintaining a healthy and clean koi pond. Follow these steps to ensure a successful installation and enjoy a thriving and beautiful water feature for years to come.