The Ultimate Guide to DIY Koi Pond Protein Skimmer - Catch More Fish Without Breaking The Bank
Introduction
Koi ponds are a beautiful addition to any backyard, but they require some maintenance to keep the water clear and healthy for your fish. One of the essential tools for koi pond owners is a protein skimmer. It helps remove organic waste and uneaten food from the water, so your fish can thrive. A protein skimmer is an expensive piece of equipment, but you can save money by building your own DIY koi pond protein skimmer. In this article, we will show you how to do that.
What is a Protein Skimmer?
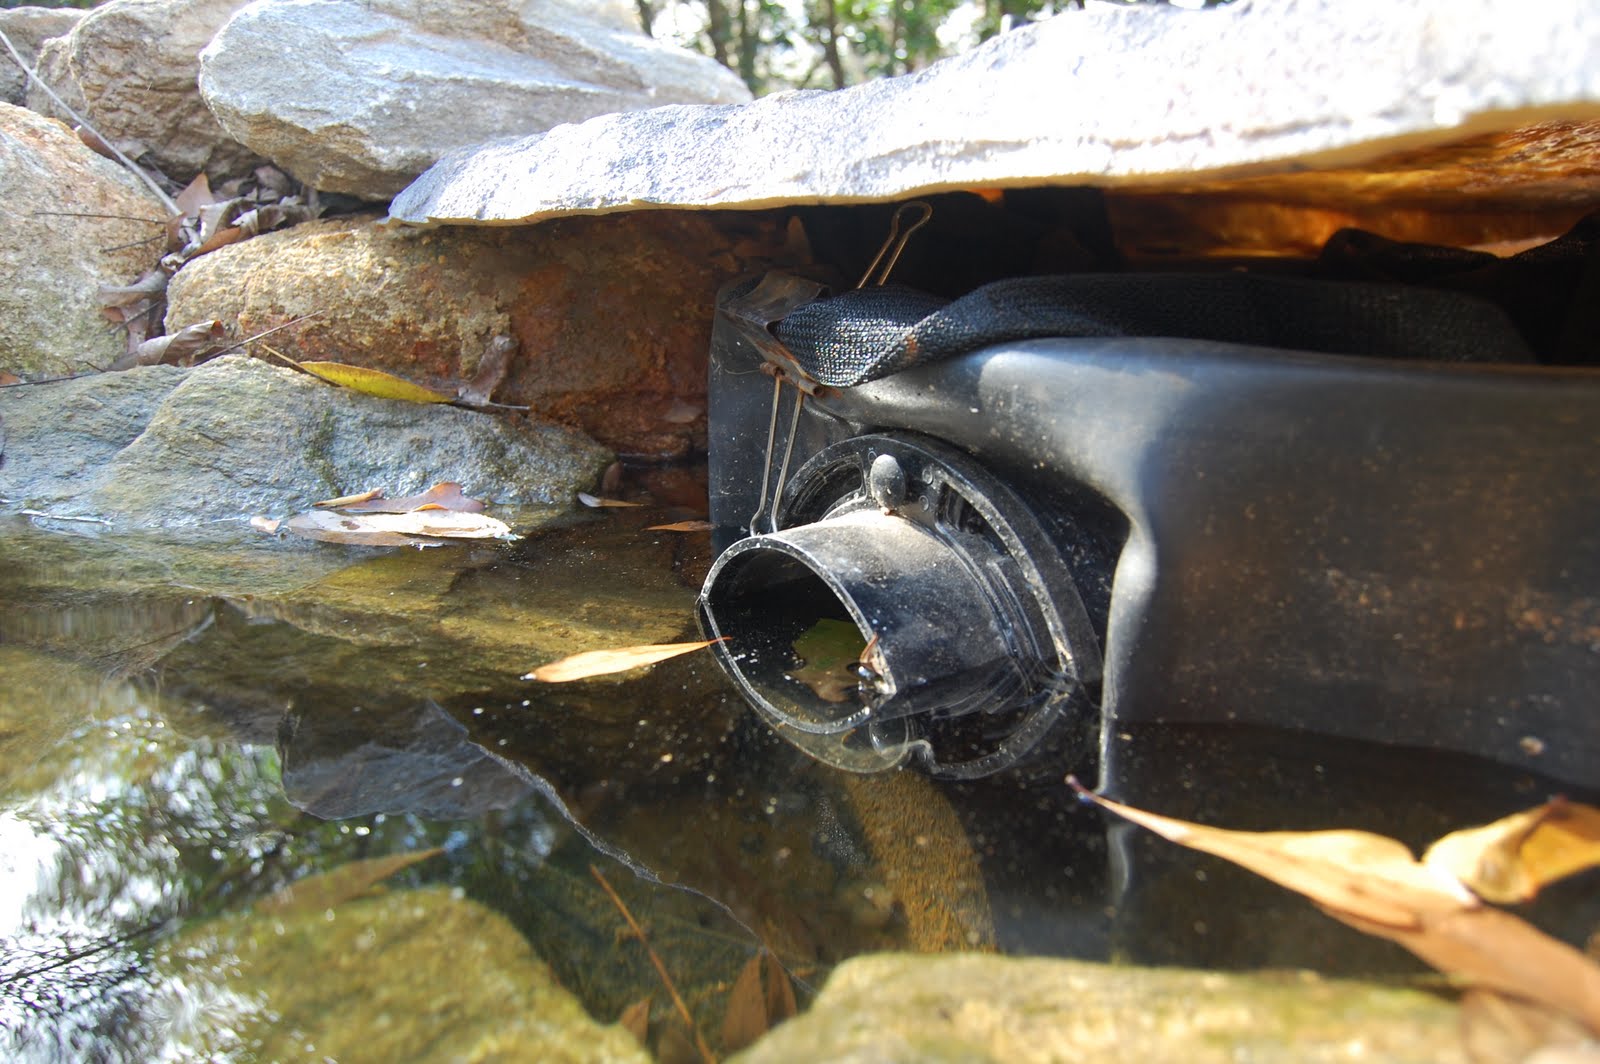
A protein skimmer is a filtration device used in aquariums and koi ponds to remove organic waste materials from the water. It works by creating bubbles inside a cylinder, and the bubbles attach to the waste materials which then rise to the surface. Once the waste reaches the surface, it is removed by a collection cup.
Pros and Cons of DIY Koi Pond Protein Skimmer
Pros
- Saves money compared to buying pre-made protein skimmers
- Customizable for your specific pond needs
- Uses readily available materials
Cons
- Not as efficient as pre-made protein skimmers
- Requires some handiwork and technical knowledge
- May not last as long as pre-made protein skimmers
Materials Needed
- PVC pipe (4-inch diameter, 18-inch length)
- Foam sponge (4-inch diameter, 18-inch length)
- Air stone
- Air pump
- Airline tubing
- Collection cup (plastic container)
- Glue
- Drill
- Hose clamp
- Silicone sealant
Steps to Build Your Own DIY Koi Pond Protein Skimmer
Step 1: Drill Holes in PVC Pipe
Using the drill, make about twenty holes spaced about 1 inch apart on the lower half of the PVC pipe. These holes allow the bubbles to escape into the water.

Step 2: Glue Sponge to Bottom of PVC Pipe
Glue the foam sponge to the bottom of the PVC pipe. Make sure it’s snug, but not too tight. This sponge will serve as a mechanical filter and remove larger debris from the water.

Step 3: Attach Air Stone and Airline Tubing
Attach the air stone to the airline tubing and then insert it into the PVC pipe through one end. Secure the airline tubing in place with the hose clamp. The air stone will create bubbles in the water.

Step 4: Attach Collection Cup
Using a silicone sealant, attach the collection cup near the top of the PVC pipe. Make sure it’s secure and won’t fall off. The cup collects the waste materials that rise to the surface.

Step 5: Attach Air Pump
Attach the air pump to the airline tubing and turn it on. You should see bubbles forming in the water and rising to the top of the PVC pipe. If you don’t, check to make sure everything is properly attached and glued.
Maintenance of Your DIY Koi Pond Protein Skimmer
Your DIY koi pond protein skimmer will need some regular maintenance. The collection cup should be emptied daily or every other day, depending on how many fish you have and how much they are fed. Keep an eye on the water level in the PVC pipe and make sure the air stone is still creating bubbles. If debris starts to clog the sponge, rinse it off with water.
Conclusion
A DIY koi pond protein skimmer is a cost-effective solution to keeping your pond water clear and healthy for your fish. While it may not be as efficient as pre-made skimmers, it gets the job done. Plus, building your own skimmer can be a fun and rewarding DIY project. With the right materials and some handiwork, you can have your protein skimmer up and running in no time.