The Ultimate Guide to DIY Koi Pond Construction
If you have a passion for gardening and love keeping fish, then a DIY koi pond can be a perfect addition to your backyard. A koi pond not only enhances the aesthetics of your outdoor space but also provides a tranquil and peaceful environment. The best part is that you can construct a koi pond on your own and save a lot of money. In this article, we will guide you through the entire process of DIY koi pond construction.
Step 1: Planning
Before you begin, you need to decide the size, shape and location of your koi pond. Make sure to choose a location that receives plenty of sunlight but not direct sunlight as this can cause algae growth in the water. Once you have chosen the location, mark the area with spray paint to get an accurate idea of the size of the pond.
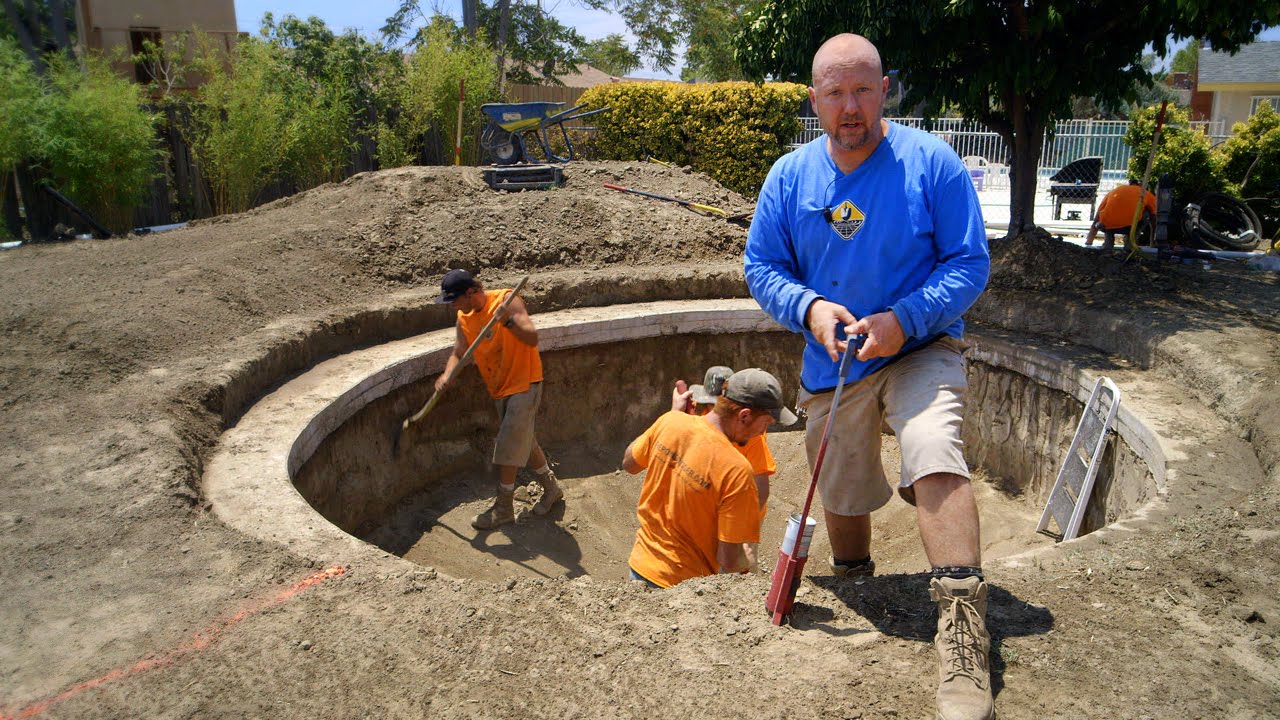
Step 2: Excavation
The next step is to excavate the area for the pond. Begin by digging out the shape of the pond using a shovel or an excavator. The depth of the pond should be at least three feet to ensure that your koi fish can survive the winter months. You can also add shelves and steps to the pond to provide a variety of depths for the fish to swim in.
Step 3: Lining
Once you have excavated the area, the next step is to line the pond with a durable and flexible liner. You can choose from a variety of materials such as EPDM, PVC, or Butyl rubber. Make sure to place the liner carefully and smooth out any wrinkles or folds to prevent any leaks.
Step 4: Filtration System
A good filtration system is essential for maintaining good water quality and keeping your koi fish healthy. There are several types of filtration systems you can choose from such as mechanical, biological, and chemical filters. Make sure to invest in a quality filtration system to ensure the longevity of your koi fish and pond.
Step 5: Water Features
A koi pond is not complete without some water features such as a waterfall, fountain, or stream. These water features not only enhance the aesthetics of your pond but also help to oxygenate the water. You can even add some plants such as water lilies and lotus to provide shade and shelter for your koi fish.
Step 6: Adding Fish
Once you have completed the construction of your koi pond and ensured that all the equipment is working properly, it’s time to add the koi fish. Start with a few fish and gradually increase the number over time. Make sure to provide a balanced diet and proper care to keep your koi fish healthy and happy.
Conclusion
Constructing a DIY koi pond can be a rewarding experience. With a little planning and effort, you can create a beautiful and serene environment in your backyard. Don’t forget to properly care for your koi fish and pond to ensure that they thrive for years to come.


