The Ultimate Guide to Creating a DIY Koi Pond Window
Introduction
Imagine relaxing in your garden, surrounded by beautiful flowers and lush greenery, while colorful koi fish swim gracefully beneath your feet. With a DIY koi pond window, you can create a stunning focal point in your outdoor space that will captivate both you and your guests. In this comprehensive guide, we will walk you through the step-by-step process of building your very own koi pond window, allowing you to bring the beauty of underwater life to the surface.
Choosing the Right Location
Before diving into the construction process, it’s crucial to select the perfect location for your koi pond window. Look for an area in your garden that receives adequate sunlight but is not exposed to extreme temperatures or strong winds. Additionally, ensure the ground is level and able to support the weight of the pond window.

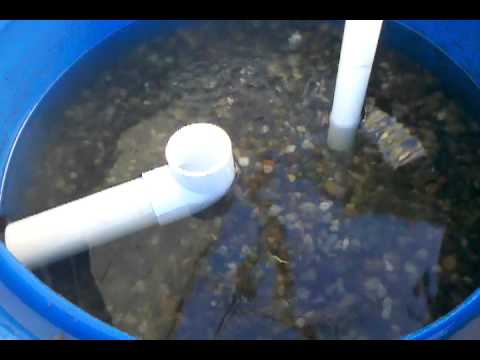
Materials and Tools
To get started, gather the following materials and tools:
- Acrylic or glass panels
- Waterproof sealant
- Pond liner
- Bricks or concrete blocks
- Water pump and filter system
- Rocks and gravel
- Plants for aquatic environment
- Angled supports or beams
- Measuring tape
- Drill
- Saw
- Level
- Rubber gloves
Step-by-Step Instructions
1. Excavation and Pond Preparation
Start by marking the outline of the pond on the ground. Use a shovel or an excavator to dig the desired shape and depth, making sure to remove any sharp objects that could damage the pond liner. Once the excavation is complete, add a layer of sand and carefully place the pond liner, ensuring it covers the entire area.

2. Installing the Pond Window
Measure the dimensions of the chosen acrylic or glass panels and cut them to the appropriate size. Apply a generous amount of waterproof sealant around the edges of each panel and carefully place them on opposite sides of the pond. Allow the sealant to cure according to the manufacturer’s instructions.

3. Building Supports and Adding Water
Construct sturdy beams or angled supports around the pond window to provide structural stability. Use bricks or concrete blocks to secure the supports in place. Once the supports are ready, it’s time to fill the pond with water. Start by adding a small amount and check for any leaks. Gradually increase the water level until it reaches the desired depth.

4. Creating an Aquatic Environment
Enhance the beauty of your koi pond window by adding rocks, gravel, and water plants. These elements not only create a natural and visually appealing environment for your fish but also help maintain water quality. Consider adding floating plants and lily pads to provide shade and privacy for your fish.

Maintenance and Care
To ensure the longevity and health of your koi pond window, regular maintenance is key. Here are a few essential tasks:
- Monitor water quality parameters such as pH, ammonia, and nitrate levels
- Clean the pond window regularly to remove algae and debris
- Trim and maintain aquatic plants
- Check the functionality of the water pump and filter system
- Protect your koi fish from predators and extreme weather conditions
- Perform seasonal deep cleaning and inspection
Conclusion
By following this comprehensive guide, you now have all the information you need to embark on your DIY koi pond window project. Enjoy the mesmerizing sight of your graceful koi fish from the comfort of your garden. Combine your creativity, love for nature, and passion for DIY projects to create a truly unique and eye-catching feature that will undoubtedly impress everyone who sets eyes upon it.