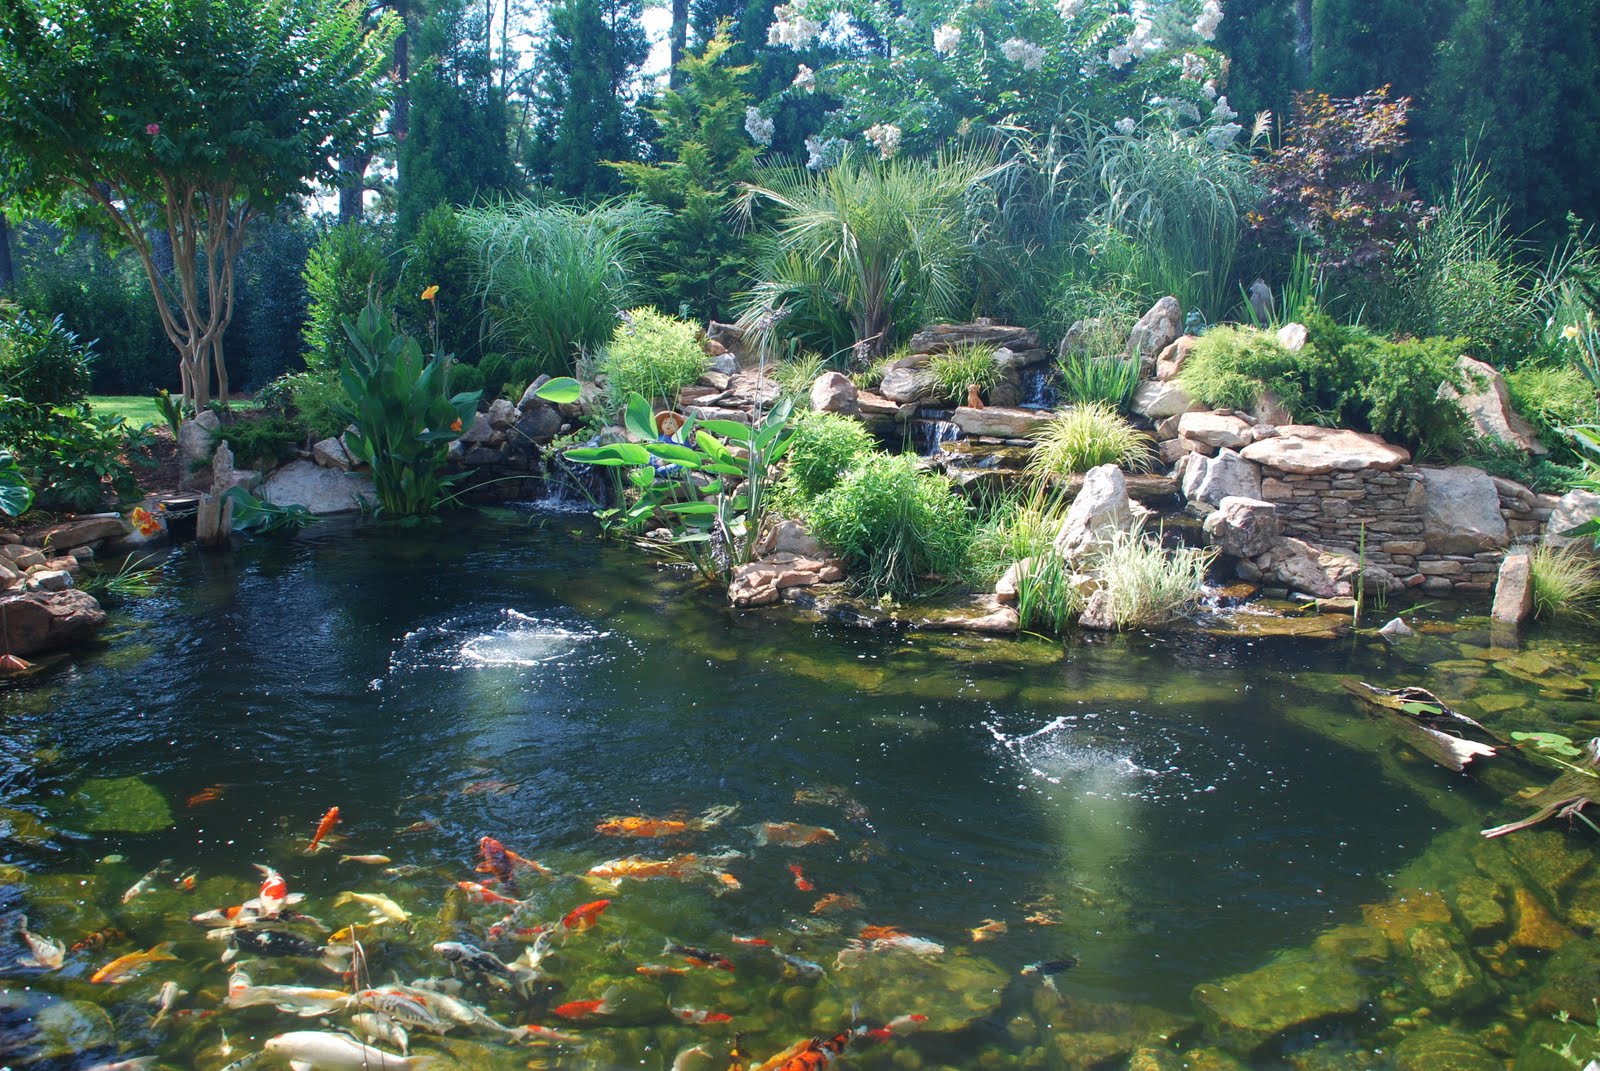
The Ultimate Guide to Building a Raised Koi Pond
The Benefits of a Raised Koi Pond
When it comes to designing your dream backyard, a raised koi pond is the perfect addition that adds value to your property. Not only are they beautiful to look at, but they also provide a tranquil environment that encourages relaxation.
But why a raised koi pond? For starters, it is easier to maintain and clean. You won’t have to bend down or get on your hands and knees while reaching far into the depths of a traditional pond. A raised koi pond also creates visual appeal, as it is a focal point that is elevated and in your line of sight.
Before you jump into the building process, there are a few key components to consider in your design.
1. Location
Where you choose to build your raised koi pond is crucial. You want to ensure that it is placed in a location that provides ample sunlight, but not too much direct sunlight that could harm the fish.
You also want to pick a location with relatively flat and level ground to ensure that your design stays intact over time. Avoid building on uneven terrain that can sink or slide your pond out of shape.
And lastly, an important note to remember is to always check with your local building codes and regulations before beginning construction.
2. Size
The size of your raised koi pond ultimately depends on the amount of space you have in your backyard, as well as the number of koi fish you plan to keep. A good rule of thumb is to plan for at least 1000 gallons of water for every koi fish.
In terms of depth, you want to ensure that it is deep enough to protect the fish from predators and harsh weather conditions, but not too deep that it becomes difficult to clean.
3. Materials
When it comes to building materials for a raised koi pond, your options are endless. Some popular materials include wood, stone, concrete, or a combination of materials for a more unique look.
Make sure that whatever material you choose is waterproof and safe for aquatic animals. Wood, for example, needs to be treated with a non-toxic sealant before being submerged in water.
4. Filtration
Proper filtration is essential for maintaining a healthy environment for your koi fish. A biological filtration system will help to break down harmful toxins and keep the water clean.
An important consideration is to integrate the filtration system into your design to hide it from plain sight. You can also choose to incorporate a waterfall or fountain that integrates the filtration system into the overall design.
5. Landscaping
A raised koi pond is a great landscaping feature that can be further enhanced by incorporating vegetation and hardscaping materials.
Consider surrounding the pond with plants and flowers that are safe for koi fish or adding a small bridge or stepping stones for a visual interest.
Now that you have your design in mind, it’s time to start building!
How to Build a Raised Koi Pond
Step 1: Mark the Layout

Start by marking the perimeter of your pond with stakes and string. Use a level to ensure that the location you’ve chosen is completely level and your layout lines are true.
Step 2: Excavate the Area
Once you’ve marked your layout, use a shovel or backhoe to excavate the area. Pay attention to the depth, and make sure to remove any rocks, roots, or debris in the soil.
Take your time with this step, as the foundation of your pond is crucial to ensure it lasts a long time.
Step 3: Build the Walls
Using your preferred materials, start building the walls of your raised koi pond. As you work, use a level to ensure that each wall is straight and true.
Step 4: Install the Liner

Next, it’s time to install the liner. First, lay down a protective layer of sand or geotextile fabric to cushion the bottom of the pond. Make sure to cut holes in the liner for any pipes or filtration systems you’ve installed.
Overlap the liner over the walls of your pond to create a watertight seal. Finish by trimming any excess liner along the edge of the pond.
Step 5: Add the Filtration System

Once the liner is installed, it’s time to add your filtration system. Place the biofilter and pump in the pond and run the tubing to the waterfalls or fountain.
Step 6: Fill the Pond

Now that your pond is built and the filtration system is installed, it’s time to fill it up with water. Use a garden hose and fill the pond to the desired level.
Step 7: Add Fish and Vegetation

Next, it’s time to add the finishing touches by introducing your koi fish and any aquatic vegetation you wish to include. Make sure to follow proper care and maintenance procedures to ensure a healthy environment for your fish.
Final Thoughts
A raised koi pond can be an excellent addition to any backyard, providing a peaceful environment that encourages relaxation and reflection. Keep in mind that proper care and maintenance are key to ensuring a healthy environment for your koi fish.
By following these design considerations and the step-by-step building guide, you’ll be on your way to having a beautifully built raised koi pond that can bring you joy for years to come!