The Ultimate Guide to Building a DIY Venturi for Your Koi Pond
The Ultimate Guide to Building a DIY Venturi for Your Koi Pond
If you have a beautiful koi pond, you know how important it is to maintain the water quality. A well-maintained pond ensures the health and vitality of your prized koi fish. One effective way to improve water quality is by using a venturi system. In this comprehensive guide, we will explore the benefits of a venturi, step-by-step instructions to build your own DIY venturi, and tips for optimal pond aeration.
What is a DIY Venturi and Why is it Beneficial for Your Koi Pond?
A venturi system is a simple and cost-effective way to introduce air into your koi pond. It creates a suction effect when water flows through a constricted pathway, pulling air into the stream. The resulting stream of aerated water helps in removing harmful gases and ensuring proper oxygenation for your koi fish.
By building a DIY venturi, you can save money on expensive aeration systems while still achieving excellent results. It is an eco-friendly approach that mimics the natural aeration process found in rivers and streams, promoting a healthier environment for your koi.
Materials You Will Need
-
- PVC pipe (2 inches in diameter)
-
- PVC elbow joints
-
- PVC cross joints
-
- Teflon tape
-
- PVC glue
-
- Hose clamp
-
- Drill
-
- Hole saw attachment
-
- Air pump with tubing and airstone
-
- Waterproof sealant
Step-by-Step Instructions to Build Your DIY Venturi
Step 1: Planning and Measuring
Start by planning the location for your DIY venturi setup. Measure the distance between your air pump and the pond, as well as the depth at which you wish to place the venturi intake.
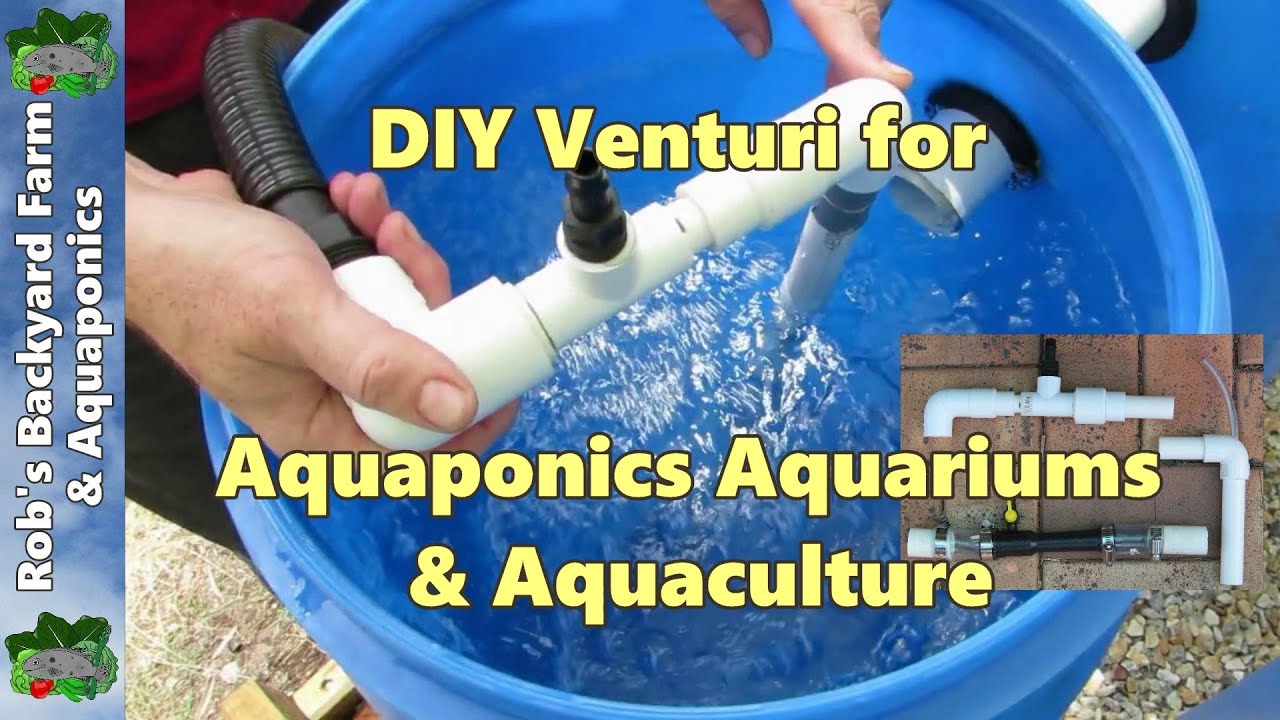
Step 2: Assembling the Venturi Body
Using the PVC pipe and elbow joints, assemble the main body of the venturi. Ensure a tight fit and use PVC glue to secure the joints.

Step 3: Creating the Venturi Intake
Using a drill and hole saw attachment, carefully create a hole at the desired depth in the pond. This will be the venturi intake location.

Step 4: Connecting the Air Pump
Attach the tubing from your air pump to the cross joint on the venturi body. Secure it with a hose clamp to ensure a tight connection. Place an airstone at the other end of the tubing.

Step 5: Installing and Testing
Carefully lower the assembled venturi body into the hole in the pond. Ensure the venturi intake is positioned correctly and cover the hole with waterproof sealant to prevent leaks. Start the air pump and observe the flow of aerated water.

Tips for Optimal Pond Aeration
To maximize the effectiveness of your DIY venturi and ensure optimal pond aeration, consider the following tips:
-
- Choose an air pump with sufficient airflow for your pond size.
-
- Regularly clean the venturi intake to avoid clogs.
-
- Position the venturi intake in an area with good water circulation.
-
- Use high-quality airstones for better bubble distribution.
-
- Monitor water parameters, including dissolved oxygen levels, to gauge the venturi’s efficiency.
-
- Adjust the air pump output to balance aeration and noise levels.
Conclusion
Building a DIY venturi for your koi pond is an excellent way to improve water quality and provide your fish with a healthier environment. By carefully following the step-by-step instructions in this guide and considering the tips for optimal pond aeration, you can enjoy the benefits of a venturi system without breaking the bank. Remember to maintain your venturi regularly and monitor the water quality to ensure the well-being of your prized koi.