The Ultimate Guide on How to Build a Koi Pond in Sandy Soil
Introduction
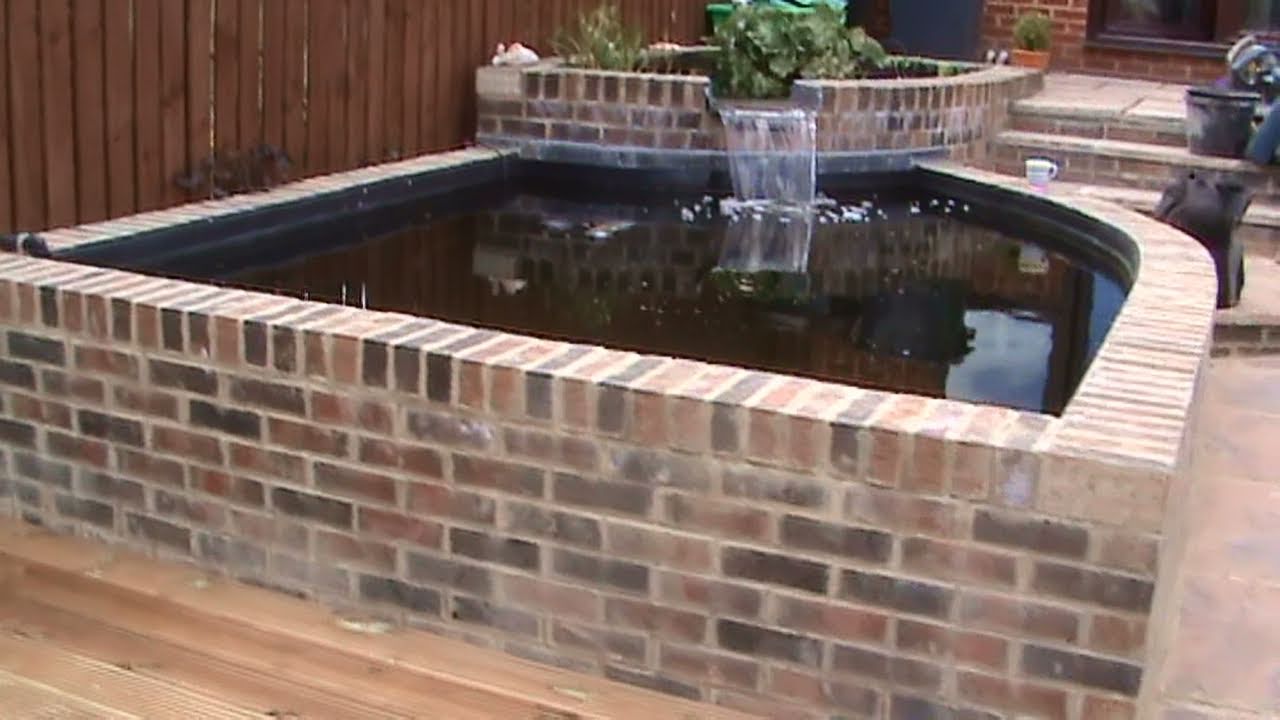
Koi ponds are a beautiful addition to any garden or backyard. They add a serene and peaceful environment to any outdoor space. Building a koi pond is not an easy task, but it is not impossible either. In this article, we will discuss everything you need to know about building a koi pond in sandy soil, from planning and materials to maintenance and upkeep.
Planning your Koi Pond
Before you start building your koi pond, you need to plan it out. The first thing you need to do is to decide on the size of your pond. It is important to keep in mind that koi fish need a lot of space to grow. A general rule of thumb is to have at least 250 gallons of water for every koi fish you plan on having in the pond.

Once you have decided on the size of your pond, you will need to consider the location. Koi ponds require a lot of sunlight, so choose a location that gets plenty of sunshine throughout the day. You will also need to consider the slope of the terrain. If your yard has a natural slope, you can use it to your advantage by building the pond into the hill. If not, you will need to add soil to create a raised area for your pond. Make sure the soil you add is stable and will not shift or erode over time.
Materials and Tools Needed
Now that you have planned out the size and location of your koi pond, it’s time to start gathering the materials and tools you’ll need. Here is a list of everything you will need:
- Flexible Koi Pond Liner
- Filter and Pump System
- Leveling Tool
- Rocks and Gravel
- Sand and Soil
- Koi Food
It is important to purchase high-quality materials and tools to ensure your koi pond lasts a long time and stays healthy. Do your research and read reviews before purchasing any materials.
Building Your Koi Pond
Now that you have all the necessary materials and tools, it’s time to start building your koi pond. Here are the steps you need to follow:
Step 1: Mark Out the Pond Area
Use a rope or hose to outline the shape of your pond. Make sure the shape is what you want before you start digging.

Step 2: Dig Out the Pond
Use a shovel or backhoe to dig out the pond area. Make sure the depth is at least 3 feet to ensure your koi fish have enough room to grow.
Step 3: Add Sand and Soil
Add a layer of sand and soil to the bottom of the pond. This will provide a base for your pond liner to sit on and prevent any rocks or objects from puncturing the liner.

Step 4: Install the Pond Liner
Unroll your pond liner and place it into the pond, making sure it is centered and level. Push the liner down into the soil at the bottom and around the sides of the pond. Trim any excess liner with scissors or a knife.
Step 5: Add Rocks and Gravel
Once you have installed the pond liner, it’s time to add rocks and gravel to the bottom and sides of the pond. This will not only make your pond look more natural but also provide a habitat for beneficial bacteria that helps keep your pond healthy.
Step 6: Install the Filter and Pump System
Install your filter and pump system according to the manufacturer’s instructions. This will ensure your koi pond has clean, healthy water for your fish to thrive in.
Maintenance and Upkeep
Once you have built your koi pond, it’s important to keep up with maintenance to keep it healthy for your fish. Here are a few tips for maintaining your koi pond:
- Clean your pond filter regularly
- Monitor the pH level of the water
- Test the water for harmful chemicals and bacteria
- Remove any debris or dead leaves from the pond regularly
By following these maintenance tips, you can keep your koi pond healthy and enjoyable for years.
Conclusion
Building a koi pond in sandy soil is a time-consuming process, but the end result is worth it. Follow these steps and tips to create a beautiful and healthy space for your koi fish to thrive in. Happy building!