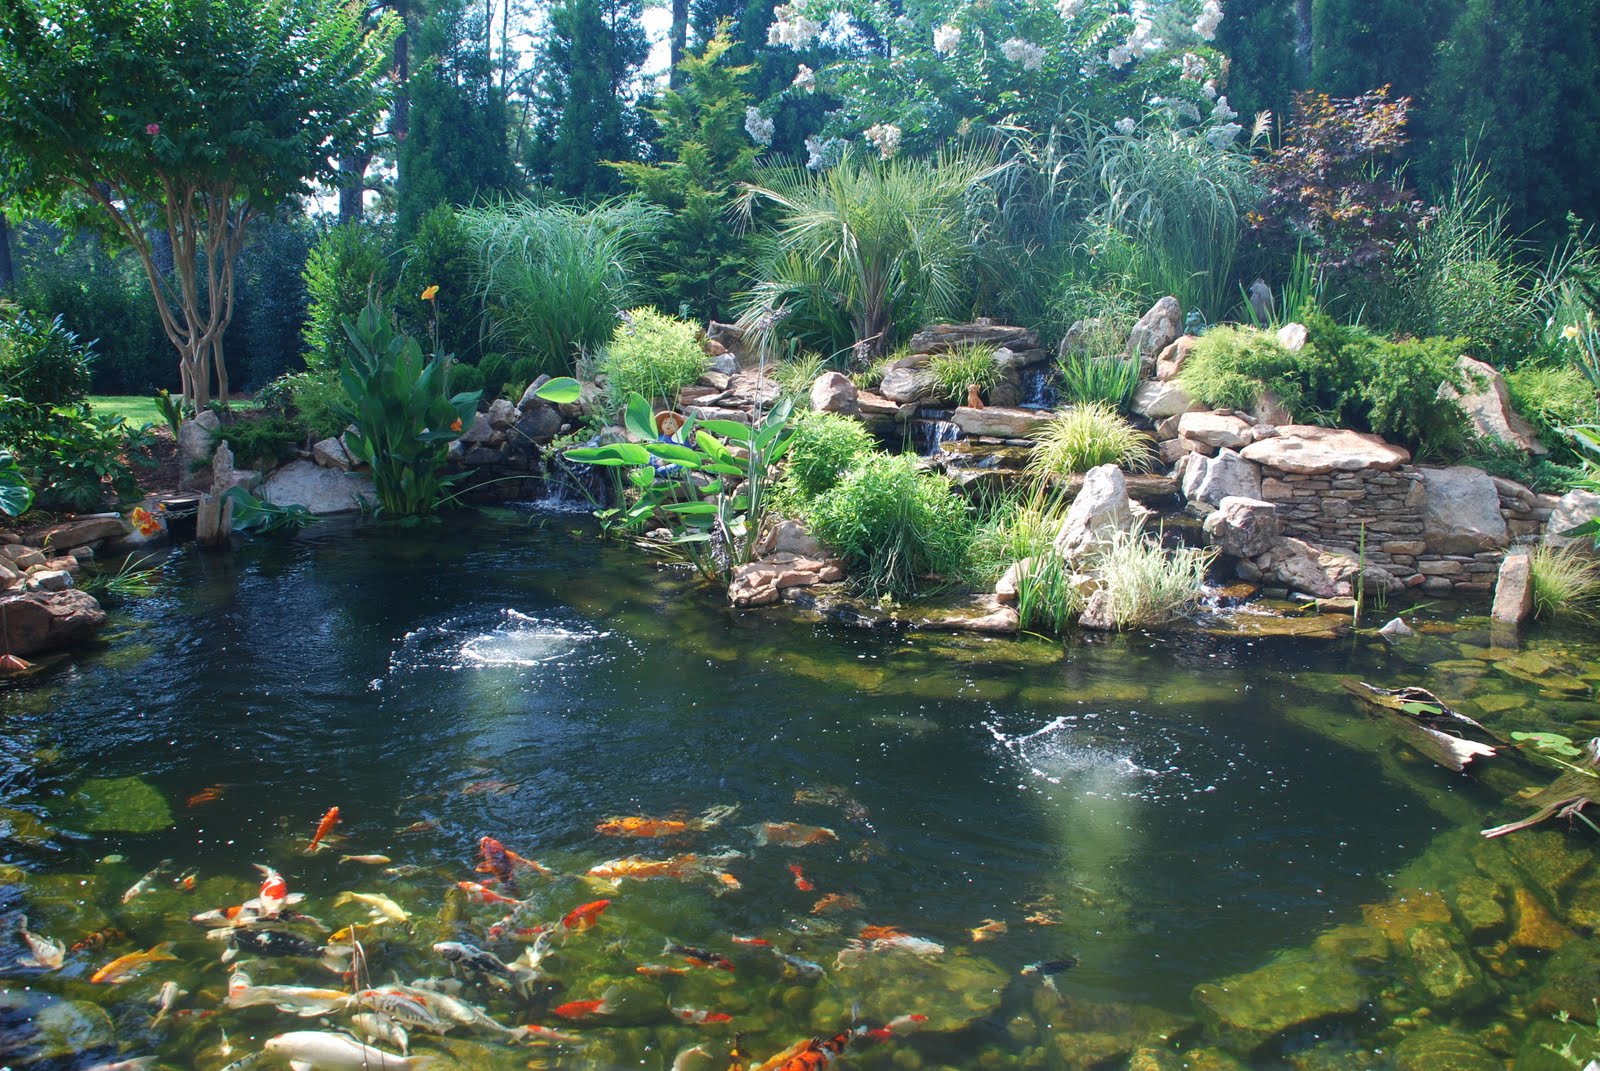
The Ultimate Guide: How to Make a Koi Pond Cake
Introduction
If you’re looking for a unique and visually stunning cake, why not try making a koi pond cake? With its colorful fish and flowing blue water, a koi pond cake is sure to impress your guests and make for a memorable dessert centerpiece. In this guide, we’ll walk you through the steps of making a koi pond cake, from baking the cake to assembling and decorating the final product.
Step 1: Choose your cake recipe
The first step to making a koi pond cake is to choose your cake recipe. You can use any cake flavor you like, but keep in mind that a denser cake will hold up better under the weight of the decorations. You’ll also need to decide on the shape and size of your cake. A round or square cake works well for this design, and a 9-inch or 10-inch size should be sufficient for most gatherings.

Step 2: Bake and cool your cake
Once you’ve chosen your recipe and pan size, it’s time to bake your cake. Follow the recipe instructions carefully and allow the cake to cool completely before attempting to decorate it. It’s important that the cake is completely cool before you start decorating, as warm cake can cause the frosting to melt or slide off.
Step 3: Prepare your frosting and fondant
The next step is to prepare your frosting and fondant. You’ll need a large batch of frosting to cover your cake and create the water effect. You can use any frosting recipe you like, but we recommend using a buttercream frosting for its stability and flavor. You’ll also need to prepare your fondant for the fish and water lilies. You can make your own fondant from scratch or purchase pre-made fondant at your local baking supply store.

Step 4: Frost and assemble your cake
Once your cake is cooled and your frosting and fondant are prepared, it’s time to frost and assemble your cake. Start by frosting the entire cake with a thin layer of buttercream frosting. This is called a crumb coat, and it will help the final layer of frosting adhere to the cake better. Then, use a piping bag to create wave-like patterns on the frosting. This will create the effect of water.
Step 5: Create fondant fish and water lilies
Next, it’s time to create the fondant fish and water lilies. Use food-safe coloring to dye your fondant the appropriate colors. You’ll need yellow, orange, and white fondant for the koi fish, and green and pink fondant for the water lilies. Roll out the fondant and use fish-shaped cookie cutters or a knife to create fish shapes. Then, use fondant cutters to create the water lily shapes. Allow the fondant fish and water lilies to dry for a few hours before adding them to the cake.

Step 6: Decorate your cake
Finally, it’s time to decorate your cake with the fondant fish and water lilies. Arrange the fish on top of the frosting waves, using a small amount of frosting to secure them in place. Then, place the water lilies around the cake. You can also add additional details, such as blue piping gel to create bubbles or green sprinkles to represent algae.
Conclusion
A koi pond cake may seem like a challenging project, but with the right tools and techniques, anyone can create a beautiful and impressive dessert. Whether you’re serving it at a party or making it just for fun, a koi pond cake is sure to be a crowd-pleaser. So why not give it a try and see what you can create?