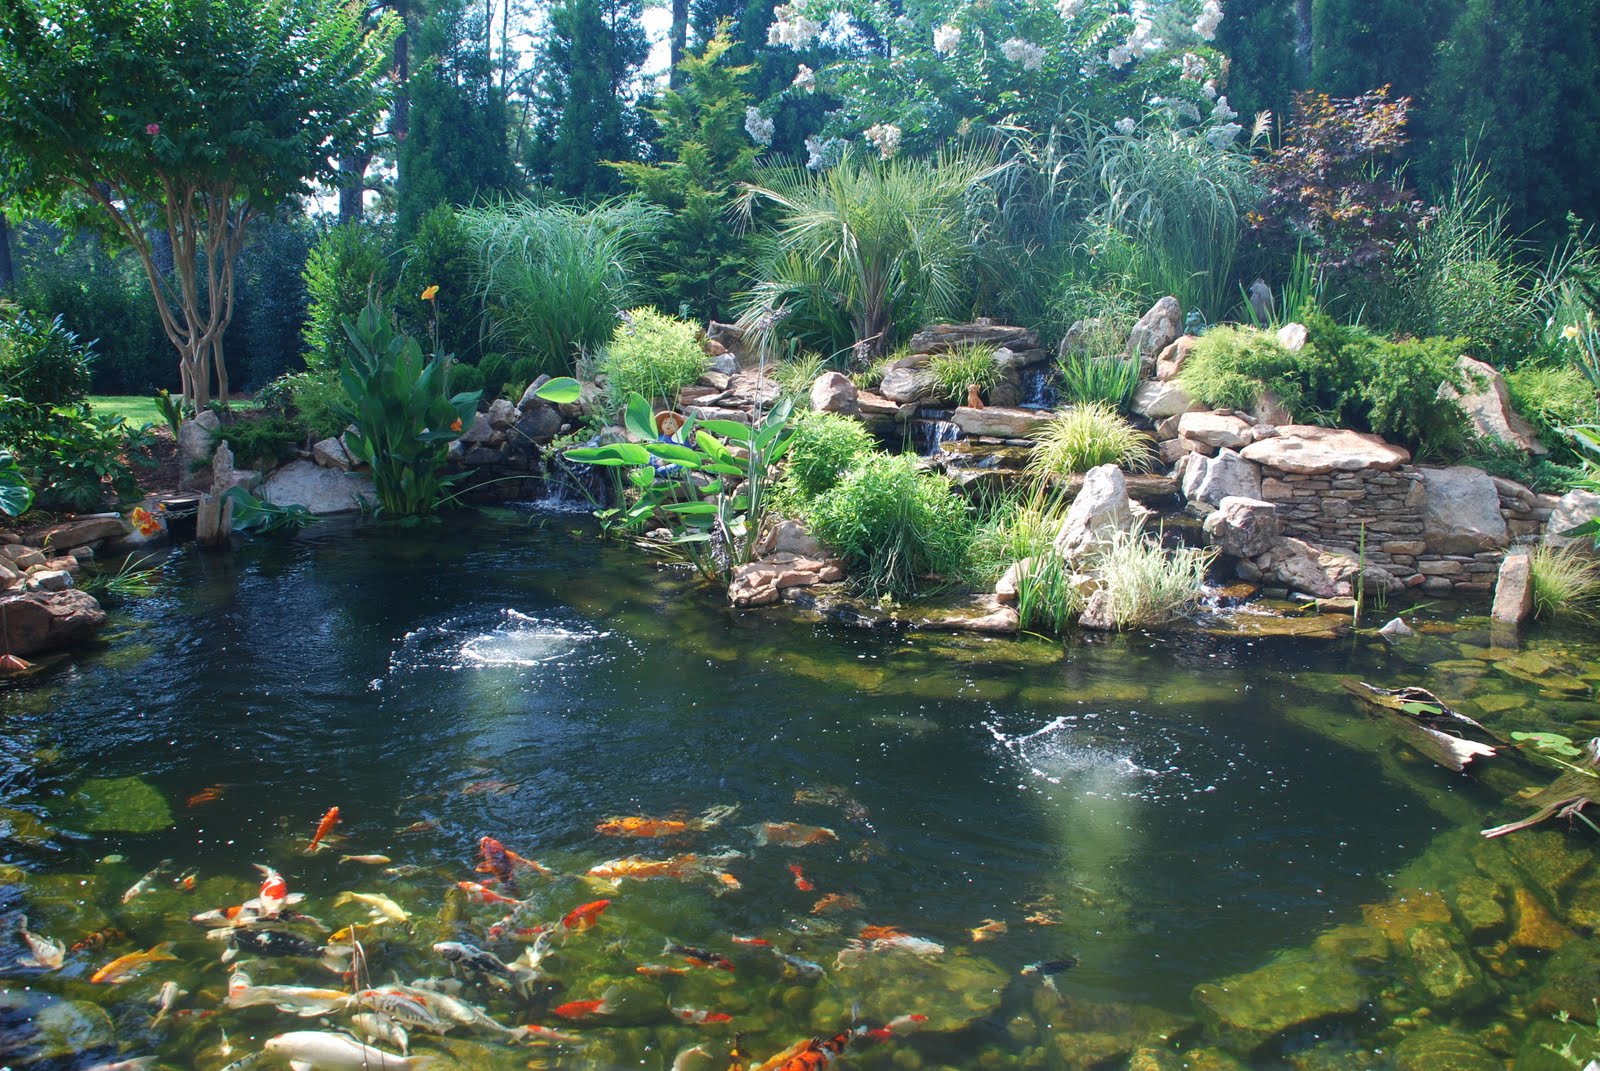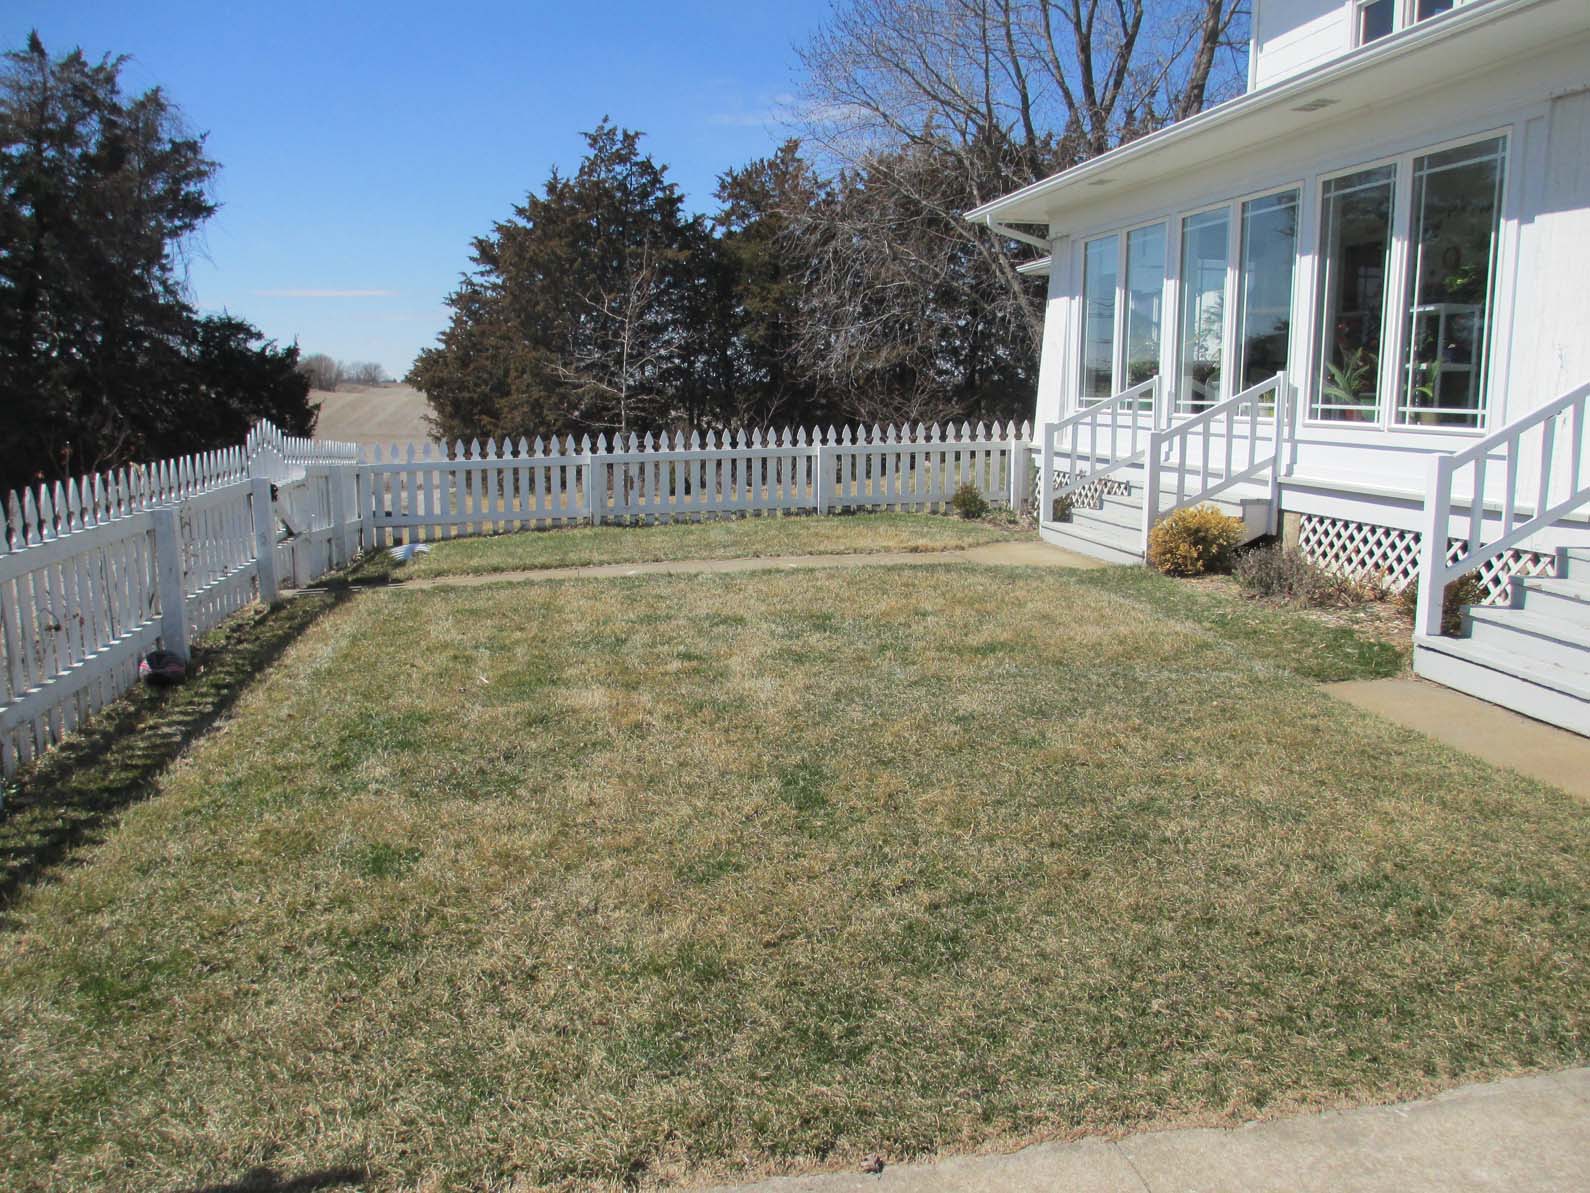
The Ultimate Guide: How to Fill in an Old Koi Pond?
The Ultimate Guide: How to Fill in an Old Koi Pond?
Many people decide to fill in an old koi pond for various reasons. It might be because they no longer have the time and energy to maintain it, or they want to use the land for different purposes. Whatever your reason is, filling in a koi pond is not as simple as dumping dirt into it. It is a complex process that requires careful planning and execution. In this guide, we will walk you through everything you need to know about how to fill in an old koi pond.
Step 1: Drain the Pond
The first step in filling in an old koi pond is to drain the water. Before you start draining, you should move your fish to a different pond or tank. If you don’t have a suitable place to keep them, you can reach out to a local fish store, and they might be able to receive them temporarily.
Once you’ve removed the fish, you can begin to drain the pond. If the pond is small, you can use a bucket to scoop the water out manually. If it’s more significant, you can use a pond pump to speed up the process. Make sure you disconnect the pump from the power supply after you’ve completed the process.
Step 2: Remove the liner or cement
Once the pond is drained, you need to remove the liner or cement. If the pond has a liner, you can cut it into small pieces and dispose of them properly. If the pond has cement, you can use a sledgehammer to break it into smaller pieces and remove them.
If the pond has concrete walls, you can use a jackhammer to break the concrete. This process can be time-consuming and labor-intensive, so it’s best to seek professional help if you’re not experienced in using these tools.
Step 3: Fill the Pond
Now that the pond is empty, and the liner or cement is removed, you can start filling it with soil. You can use any type of soil, but it’s best to use a mix of topsoil and sand. This combination will provide good drainage and support for the plants you’ll be putting in the area.
Start filling the pond gradually, and as you do that, make sure to compact each layer of soil you add. This will help prevent any settling, which can cause sinkholes in the future. Continue filling until the pond is level with the surrounding ground.
Step 4: Add Plants and Decorations
After you’ve filled in the pond, you can add plants and decorations. If you want to create a garden in the area, you can choose from various flowering plants and shrubs. If you want to create a seating area or a pathway, you can use gravel or paving stones to create your desired look.

It’s essential to select plants that can thrive in your area’s climate and soil type. You can consult a local garden center or nursery to help you choose the best plants for your garden. Adding decorations like statues, fountains, and benches can also enhance the area’s aesthetics and functionality.
Conclusion
Filling in an old koi pond can be a challenging task, but with proper planning and execution, it can be a rewarding experience. By following the steps outlined in this guide, you can turn your old koi pond into a beautiful garden or seating area that can add value and charm to your property. Remember to take your time, do your research, and seek professional help if necessary. Good luck!