The Ultimate Guide: How to Fill a Koi Pond with Water
Introduction
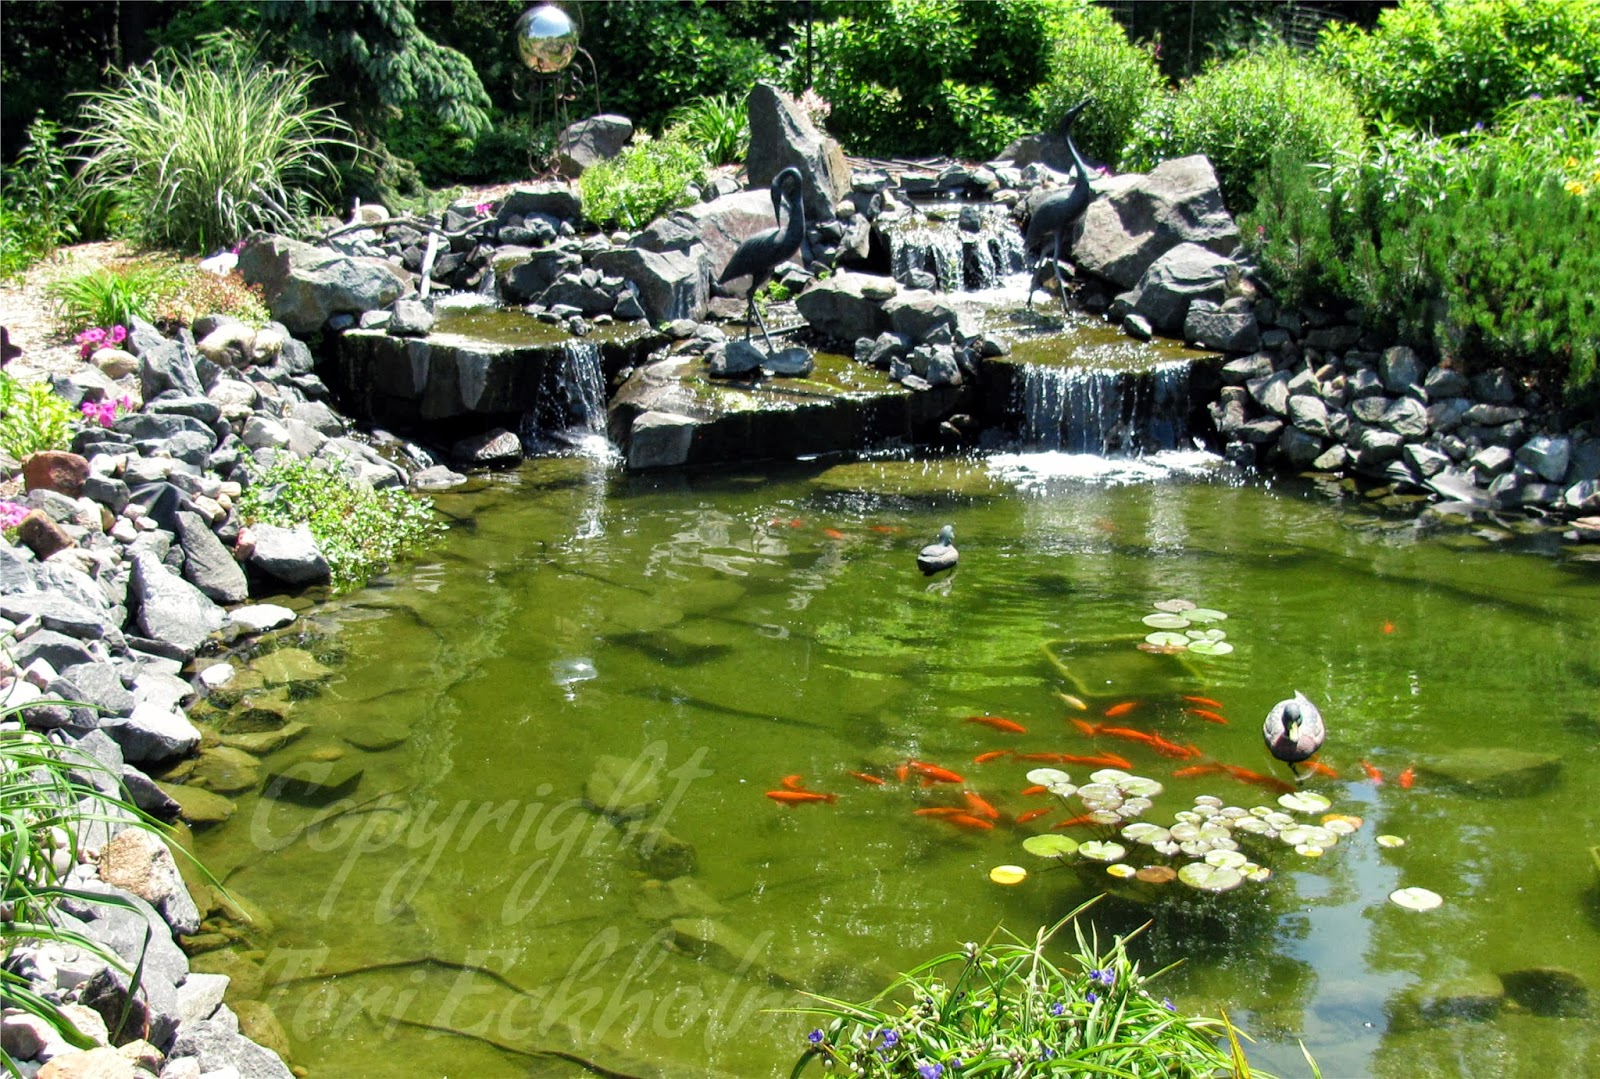
Koi ponds are a beautiful addition to any garden. They add serenity, color, and uniqueness to the area. However, filling a koi pond with water can be a daunting task, especially for first-time pond owners. This guide will provide you with the steps you need to follow to fill your koi pond with water successfully. Get ready to create a stunning water feature that’s sure to impress!
Step 1: Prepare for Filling
Before filling the pond with water, make sure it’s ready. Ensure that there are no leaks in the pond liner. Check for any debris or dirt that might be in the pond. Clean the pond using a hose or a pond vacuum. This step is critical as it ensures that your fish are healthy and the pond is in good condition.

Step 2: Choose the Right Water
To fill your pond successfully, get the right water. You can use tap water, well water, or rainwater. However, it’s best to use rainwater or well water as they have fewer chemicals than tap water. Collect the water in a clean container, and test its pH level before adding it to your pond. The ideal pH for koi is between 7 and 8.

Step 3: Begin Filling the Pond
Now it’s time to start filling your pond. It’s best to use a hose for this step as it ensures that the water goes directly into the pond. Fill the pond slowly to avoid damaging the liner and to ensure that the water distribution is even. If you’re using tap water, let it run for a while before filling the pond to lower the chemical levels. Keep an eye on the water levels to avoid overfilling the pond.

Step 4: Add Beneficial Bacteria
After filling the pond with water, it’s best to add beneficial bacteria. This step helps to promote healthy bacteria growth that helps to maintain the water’s quality. These bacteria also help to break down fish waste and other debris in the pond. Follow the manufacturer’s instructions carefully to ensure that you add the right amount of bacteria.

Step 5: Turn on the Filter
After adding the beneficial bacteria, turn on the pond filter. The filter helps to ensure that the water remains clean and clear. Be sure to follow the manufacturer’s instructions and to clean the filter regularly. A dirty filter can cause more harm than good to your fish and pond.

Step 6: Allow Water to Settle
After filling the pond with water, allow it to settle for a few days before adding any fish. This step helps to ensure that the water is at the right temperature and pH level for your fish. Also, it allows any dust that might have accumulated during the filling process to settle at the bottom of the pond. After a week, test the pH and other levels again to ensure that they’re optimal for your fish.

Conclusion
With these steps, filling a koi pond with water is easy. Before you add any fish, ensure that the pond is in good condition and that you have tested the water’s pH level. Fill the pond slowly to avoid damaging the liner and use a hose for best results. After filling the pond, add beneficial bacteria and turn on the filter. Allow the water to settle for a few days before adding fish. Remember to test the water levels regularly to maintain a healthy pond. By following these steps, you’ll have a stunning koi pond that will wow your guests and keep your fish happy and healthy.