The Ultimate Guide: How to Create a Natural Koi Pond in Your Backyard
Introduction
Koi ponds are a beautiful addition to any backyard and can provide a relaxing and peaceful environment. However, many people believe that creating a koi pond is an expensive and time-consuming process. In reality, with the right resources and knowledge, building a natural koi pond can be a straightforward and enjoyable experience.
Step 1: Plan your Koi Pond
Before you start building your natural koi pond, it’s essential to have a plan and understand the design elements involved. The first step is to decide where to place your pond. Most koi ponds need access to sunlight for at least six hours a day, so finding an area with adequate sunlight is critical.
- Choose the right location (with adequate sunlight)
- Decide on the size and shape of your pond
- Determine the water source and drainage system
- Consider the surrounding landscape and materials used for the pond
Step 2: Dig the Hole
Once you have planned your koi pond design, the next step is to dig the hole. The depth of your pond will depend on the size of your koi and the local climate. A depth of at least four feet will ensure that your koi fish can thrive in colder temperatures.

Step 3: Install the Liner
Installing a liner is a crucial step in creating a natural koi pond. The liner will protect your pond from leaks and prevent debris from entering the water. There are two types of liners to choose from: rubber and polyethylene. Both are effective and long-lasting materials, so choose whichever one fits your budget and preferences.

Step 4: Add Rocks and Gravel
Adding rocks and gravel to your koi pond provides a natural look and feel. The rocks also serve as a surface for beneficial bacteria to grow. These bacteria will help regulate the nitrogen cycle and keep the water clean.
- Cobblestones and boulders provide a natural look and feel
- River rocks and pea gravel are effective for bordering plants and concealing the liner
- Use aquatic plants to add more natural elements to the pond

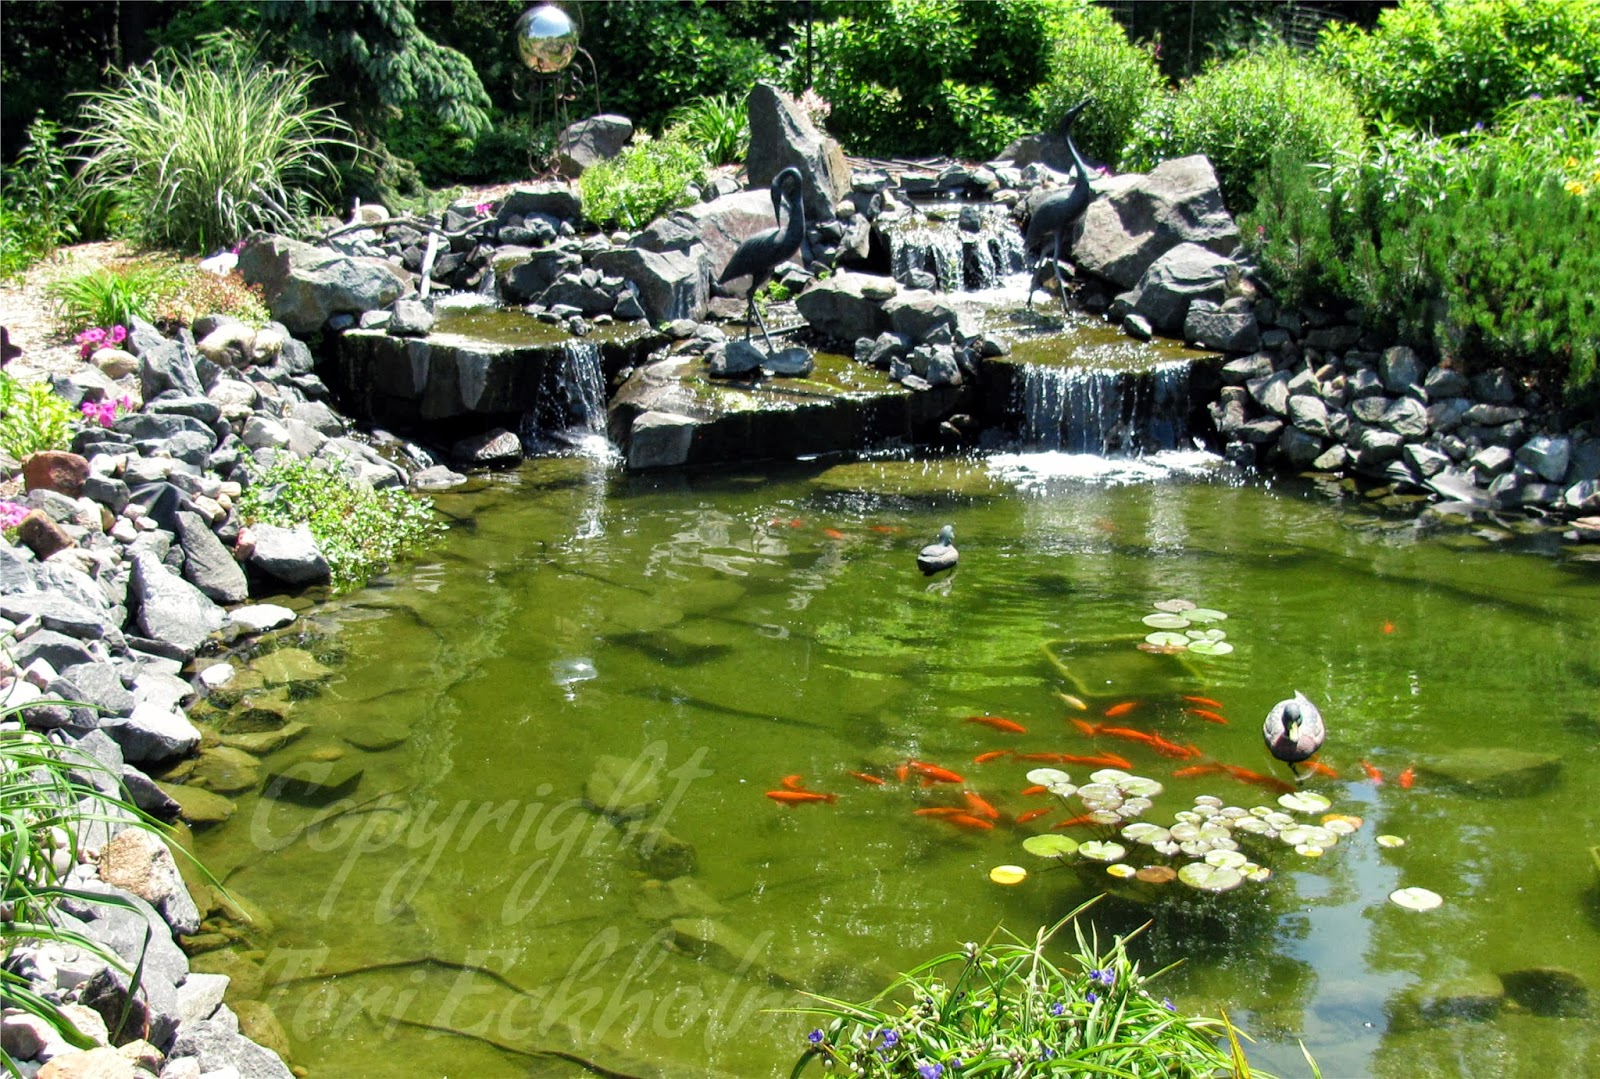
Step 5: Install the Water Feature
A water feature, such as a waterfall or fountain, not only adds to the aesthetics of your koi pond but also helps to oxygenate the water, making it healthier for your fish. There are many water feature options to choose from, so select one that fits your budget and complements your pond design.

Step 6: Add Koi Fish and Turtle
Now it’s time to add your koi and other aquatic animals, such as turtles, to the pond. Koi fish are fascinating creatures that come in a variety of colors and patterns. When introducing your fish to the pond, let them acclimate to the water temperature for at least thirty minutes before releasing them.
Step 7: Maintain Your Koi Pond
Keeping your koi pond clean and healthy is essential for the longevity of your fish and the beauty of your pond. The following are maintenance tips to keep your pond in top shape:
- Add beneficial bacteria to help control algae and maintain water quality
- Test the water regularly for ammonia, nitrite, and pH levels
- Trim back plants to avoid overgrowth and debris buildup
- Clean filters, hardware, and surrounding area on a regular basis
- Cover your pond with netting during fall and winter to avoid leaves and debris entering the water
Conclusion
Creating a natural koi pond can be an enjoyable and rewarding experience. By following the steps in this guide, you can have a beautiful and peaceful water feature in your backyard that is home to stunning koi fish and other aquatic life. Remember to plan carefully, choose the right materials, and maintain your pond regularly for years of enjoyment.