The Ultimate Guide: How to Build Koi Pond Walls
Introduction
Building your own koi pond walls is an excellent way to add a beautiful water feature to your garden. Koi ponds are not only beautiful but are also very relaxing and calming. Having a pond in your garden attracts wildlife such as birds and frogs, creating an ecosystem that is beneficial to your garden. Below is a comprehensive guide on how to construct koi pond walls that are both beautiful and functional.
Step 1: Plan Out Your Koi Pond
Before diving into the construction of your koi pond, it is crucial to plan out your pond. You need to think about the size and shape of your pond, the materials you will use to construct your pond walls, and the location of your pond.

Step 2: Choose the Right Material
When it comes to building koi pond walls, there are several materials that you can use. However, not all materials are suitable for a koi pond. The ideal materials for a koi pond are concrete or stone. Concrete is durable, relatively inexpensive, and provides a stable surface for your pond walls. Stone walls, on the other hand, are more beautiful and provide a natural aesthetic that complements your garden. However, they are more costly than concrete walls.

Step 3: Prepare the Ground
Once you have chosen your material, it is time to prepare the ground. The first thing you need to do is to dig a hole that is slightly larger than the size of your pond. Ensure that the ground is stable and compact before starting the construction of your pond walls.
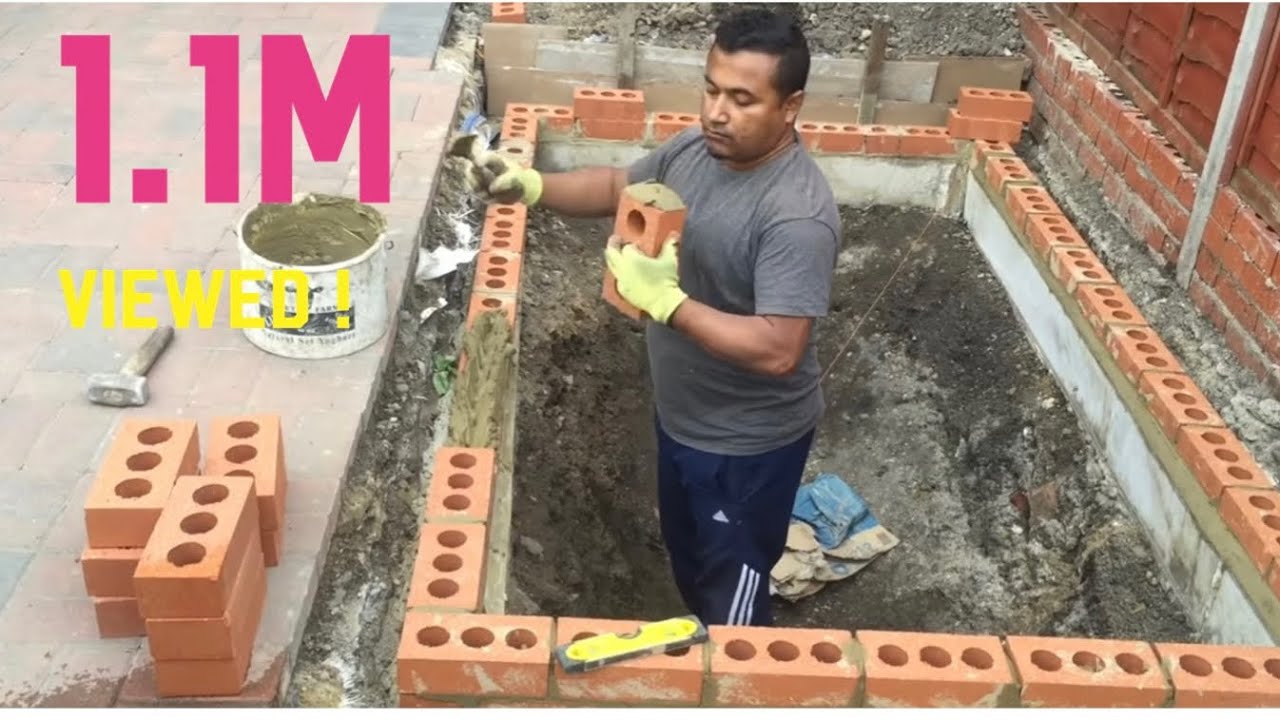
Step 4: Build Your Pond Walls
Start by laying your first course of concrete or stone blocks. Ensure that the blocks are level and stable. You can use a spirit level to ensure that the blocks are straight and level. After you have laid your first course of blocks, add a layer of mortar between the blocks. Then, lay your second course of blocks, ensuring that they overlap the joints of the first course of blocks. Continue laying your blocks until you have constructed your pond walls to the desired height. Once you have laid all your blocks, add a final layer of mortar to smooth out the surface of your walls.
Step 5: Waterproof Your Pond
After you have constructed your pond walls, it is time to waterproof your pond. There are various types of liners available, but the most common and effective liners for koi ponds are EPDM rubber liners. Ensure that your liner is the correct size for your pond and that you have enough to cover the walls and the bottom of your pond. Why not try to get a pond installer to help you get the optimal dimensions of the pond liner to buy?

Step 6: Add Decorative Elements
Once you have completed your pond walls, you can add decorative elements to make your pond more attractive. You can add rocks and stones around the edge of your pond to give it a natural look. Alternatively, you can add plants and flowers around the edge of your pond to create a colorful and attractive feature in your garden.

Conclusion
Building koi pond walls might seem like a daunting task, but with the right tools and material, it can be relatively straightforward. A beautiful koi pond is an excellent addition to any garden, and it can provide hours of relaxation and enjoyment. By following the six simple steps outlined above, you should be able to build a functional and attractive koi pond that will be the centerpiece of your garden for years to come.