The Complete Guide on How to Build a Koi Pond Liner: A Step-by-Step Guide for Beginners
Introduction
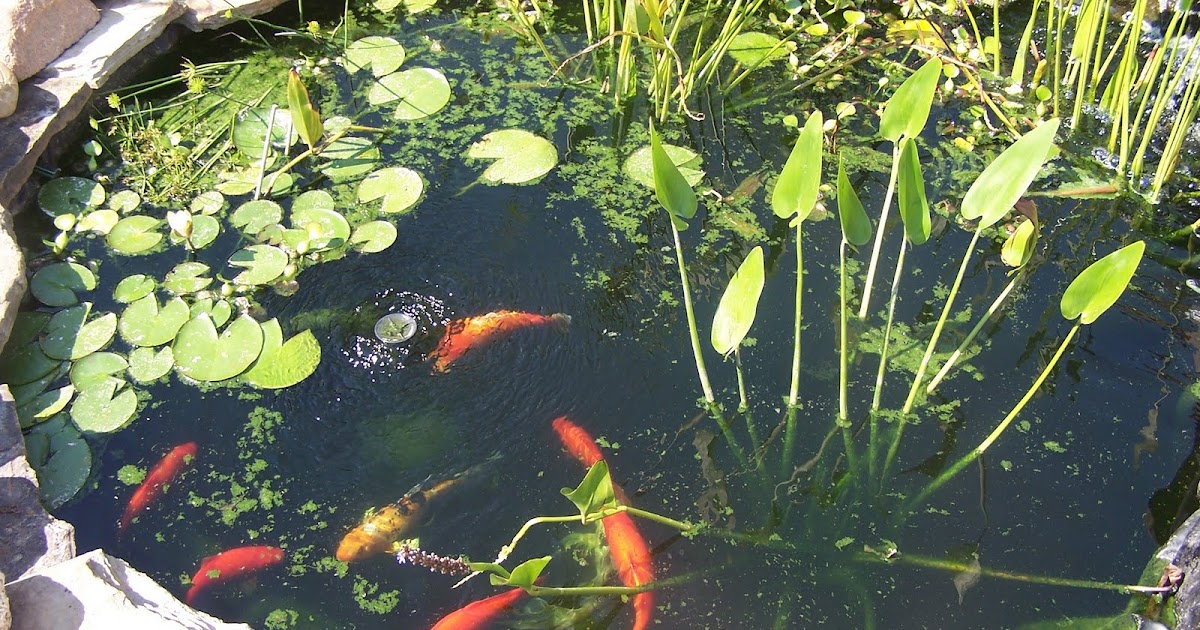
Water is an essential element in creating a serene ambiance in any garden. If you’re looking to balance the elements and add some tranquility and fascination to your yard, building a koi pond is an excellent idea. Koi fish are beautiful, colorful, and playful creatures that can transform any human dwelling into an oasis of calm.
Building a koi pond liner may sound challenging, but it’s surprisingly easy if you have the right materials, tools, and a simple guide to follow. In this article, we will go through the step-by-step process of building a koi pond liner and also discuss the essential factors that need to be considered before you embark on this exciting journey.
Choosing the right location for your koi pond
The first and foremost consideration when building a koi pond liner is the location. It should be accessible, provide the ideal amount of sunlight, and be away from any trees to minimize debris falling into the pond. It should also be placed in an area where it’s not exposed to too much wind as this can create waves in the water.
Before starting the digging process, ensure that you have checked the local laws and regulations to be sure that you can build a koi pond on your property without any legal issues. Get a permit if needed and then proceed with the next step.
Materials Needed for Building a Koi Pond Liner
Once you’ve selected the ideal location, it’s time to gather the materials you’ll need to construct a koi pond liner. Here’s what you need:
- Shovel
- Tape measure
- Safety gloves
- Pond liner
- Water pump
- Underlayment material
- Concrete blocks or bricks
- Decorative rocks
The Step-by-Step Process of Building a Koi Pond Liner
Step 1: Mark and dig the pond area
Use a tape measure to mark out the pond’s perimeter in your chosen location. Once you are done marking, start digging. You may hire an excavator or do it yourself if it’s a small pond. Remove all debris and sharp rocks before laying the underlayment material.
Step 2: The Underlayment Material
Once the area has been cleared, place the underlayment material on the bottom and sides of the pond’s hole. The underlayment will make sure that the liner doesn’t get punctured by sharp objects.
Step 3: Laying the Pond Liner
The pond liner is the heart of a koi pond liner. Lay the liner carefully, making sure that there are no wrinkles or folds. If you’re using multiple liner pieces, ensure there’s enough overlap between the edges to avoid any leaks.
Step 4: Seal the Pond Liner
Seal the pond liner edges using bricks or concrete blocks, making sure the liner is secure and doesn’t shift. Having a secure edge also helps prevent pond predators such as raccoons and cats from accessing the fish.
Step 5: Fill The Pond
Fill the pond with water and allow it to sit for a few days. The water will help remove any kinks or folds in the liner caused by drying. Start adding decor, plants, and rocks to make your pond look more appealing.
Step 6: Adding the Koi Fish
When the pond is ready, it’s time to introduce the Koi fish to their new habitat. Add not more than two koi fish at a time to allow the water chemistry to adjust slowly. Koi fish are delicate and have to be handled with care.
Maintenance and Care of Your Koi Pond Liner
Once the pond is completed and filled with water, you need to maintain it to ensure it stays clean and healthy for your pet Koi fish. Here are some basic tips to help you keep the pond clean:
- Remove dead leaves and debris using a skimmer net
- Vacuum the pond regularly to remove excess waste
- Replace 15% of the pond water every week
- Clean and check the pH levels of the water weekly
- Feed the Koi fish according to the manufacturer’s instructions
Conclusion
Constructing a koi pond liner can be an exciting and rewarding journey. It’s an excellent way to create a beautiful and serene atmosphere in your garden. With this simple guide, you can build a koi pond liner that your fish will love and that you can take pride in. Remember to keep it clean and properly maintained for a healthy and happy fish habitat.