Sparkling Success: Your Ultimate Guide to Spring Cleaning your Koi Pond
Sparkling Success: Your Ultimate Guide to Spring Cleaning your Koi Pond
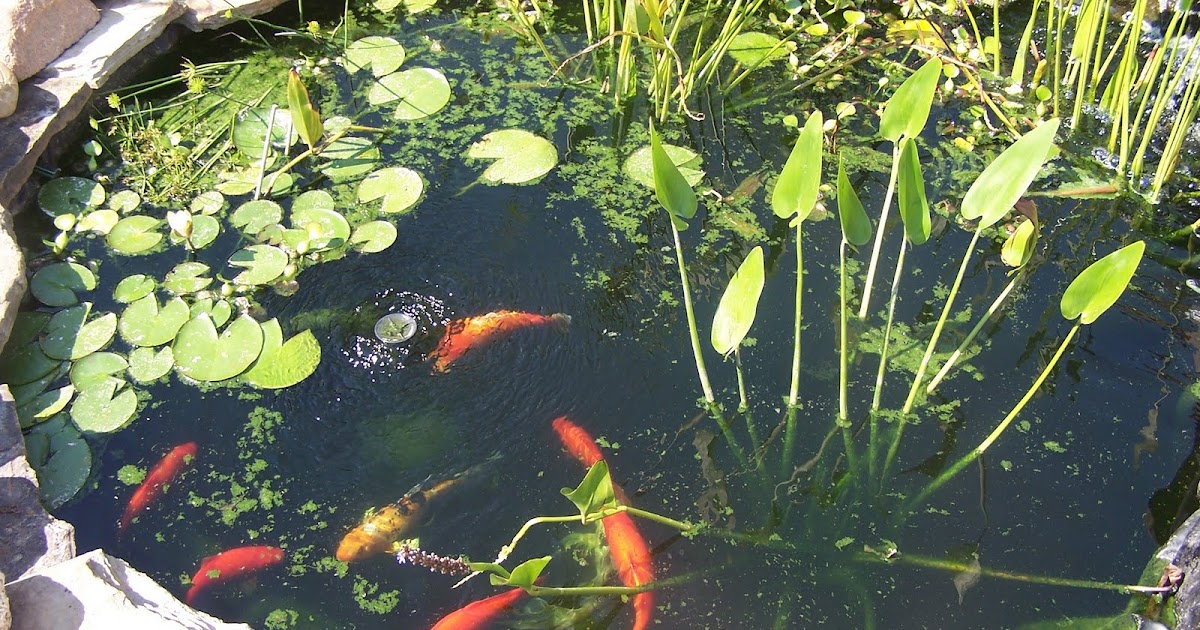
Spring cleaning your koi pond may seem like a daunting task, but it is essential for keeping your pond healthy and your fish happy. As the temperature starts to rise, it’s time to roll up your sleeves and get to work.
Step 1: Remove Debris
The first step in spring cleaning your koi pond is to remove any debris that has accumulated over the winter. This includes dead leaves, branches, and any other debris that may have fallen into your pond.
Start by using a net to remove any debris from the surface of the water. Next, use a pond vacuum to remove any debris from the bottom of the pond. Be sure to get into all the nooks and crannies where debris tends to accumulate.

Step 2: Drain and Clean the Pond
Once you have removed all the debris, it’s time to drain and clean your pond. Begin by draining the water out of the pond and into your garden. Be careful not to disturb any fish or living plants that may be in the pond.
Next, use a pond cleaner and a scrub brush to clean the sides and bottom of the pond. Be sure to get rid of any algae or other growth that may have accumulated over the winter.

Step 3: Check Your Equipment
After you have cleaned your pond, it’s time to check your equipment to make sure everything is working properly. This includes your pump, filter, and any other equipment you may have installed.
Be sure to check for any cracks or leaks in your equipment. If you find any issues, you may need to replace your equipment before refilling your pond and welcoming your fish back home.

Step 4: Refill Your Pond
Once everything is in working order, it’s time to refill your pond. Be sure to add a dechlorinator to the water to remove any harmful chemicals before adding your fish.
It’s important to slowly add water to your pond to avoid shocking your fish. Fill your pond up to about 80% capacity and then let it sit for a day or two to allow the water to acclimate before adding your fish.

Step 5: Test Your Water Quality
Once you have refilled your pond and added your fish, it’s time to test your water quality. This will help you ensure that your pond is healthy and your fish are happy.
You can purchase a water testing kit from your local pet store or online. Test your water for pH, ammonia, nitrite, and nitrate levels. If you find any issues, be sure to address them before they become bigger problems.
Step 6: Maintain Your Pond
Now that your pond is sparkling clean and your fish are happy, it’s important to maintain your pond throughout the spring and summer months.
Add beneficial bacteria to your pond to help break down fish waste and other organic matter. Be sure to check your water quality regularly and perform regular water changes to keep your pond healthy and clean.

Conclusion
Spring cleaning your koi pond may seem like a lot of work, but it is essential for keeping your pond healthy and your fish happy. Follow these six steps to ensure that your pond is sparkling clean and ready for spring.