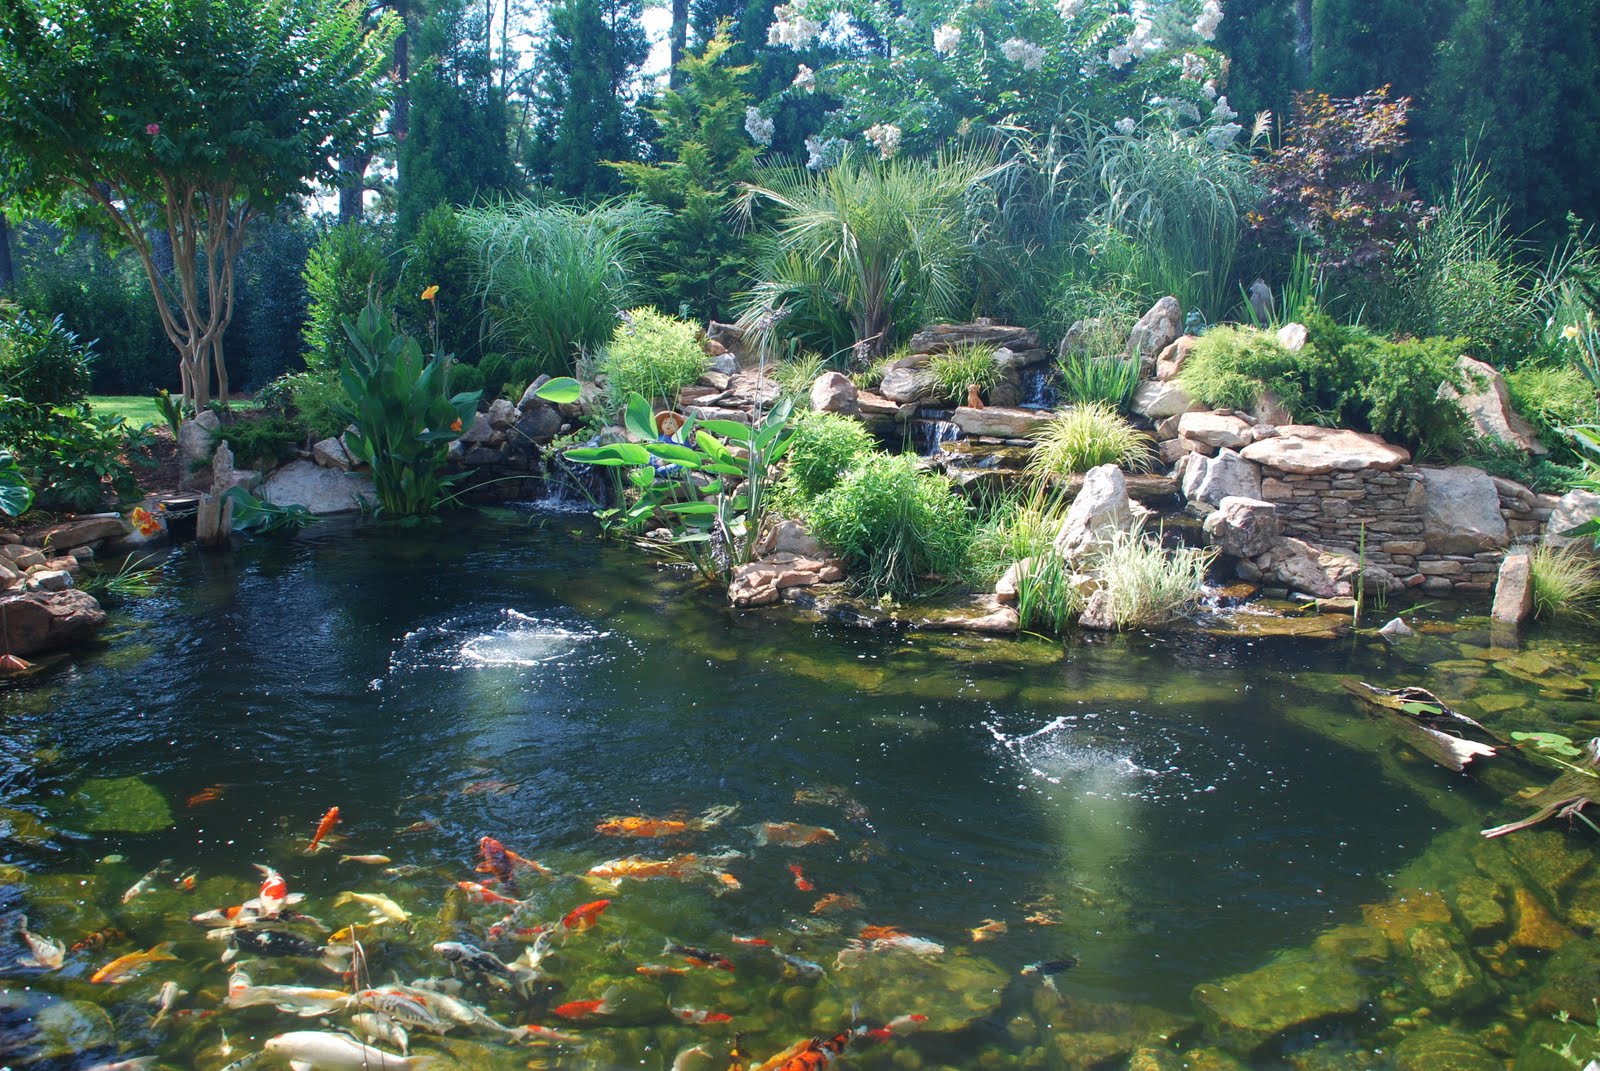
Creating a Serene Oasis: How to Build a Wood Koi Pond
Introduction
A koi pond can be a beautiful and relaxing addition to any backyard, providing a serene oasis for both the fish and the people who admire them. While you can buy pre-made koi ponds, building one out of wood can be a more cost-effective and customizable option. In this guide, we’ll walk you through the steps of creating your own wood koi pond, from planning and design to construction and maintenance.
Step 1: Planning and Design
Before you start building, you need to decide on the size, shape, and location of your koi pond. A typical koi pond should have at least 1000 gallons of water and be at least three feet deep to provide enough space for the fish to swim and grow. Consider the size of your backyard and the overall look and feel you want to achieve. Draw a sketch of your pond and mark out where you want to place the waterfall or filter system.

Step 2: Gather Materials
Once you have your design in place, you will need to gather materials. For a wood koi pond, you will need pressure-treated lumber or cedar, which are both weather and insect-resistant. You will also need a liner, which can be made of rubber or PVC. Pond kits are available for purchase if you prefer.

Step 3: Construct the Frame and Base
The frame and base of your koi pond will be the foundation for everything else. Begin by digging out the soil where your pond will go. Create a frame using your pressure-treated lumber, making sure to add supports and bracing. Once the frame is in place, add a layer of sand or gravel at the bottom, and place your liner on top. Tuck the liner into the corners and secure it with the framing boards.

Step 4: Install the Filtration System and Add Water
Now that your frame and base are in place, it’s time to install the filtration system. You can opt for a submersible pump and filter or an external one, depending on your preference and budget. Once the system is installed, add water to your pond, making sure to fill it to the appropriate level. Test the water to make sure the pH and chlorine levels are correct before adding your fish.

Step 5: Add Plants, Rocks, and Decor
To create a natural-looking environment for your koi, add rocks, plants, and decor. Use natural rocks of different sizes to create depth and texture. Plants like water lilies and lotuses not only add beauty but can also help keep the water clean. Decorative items like statues or lanterns can add a personal touch.

Step 6: Maintain Your Wood Koi Pond
Maintaining your wood koi pond requires regular upkeep. Keep an eye on the water chemistry and make sure to clean the filter and pump regularly. Check for any leaks or damage to the liner. Trim any dead or decaying plants, and make sure the rocks are not shifting around. Feed your fish regularly and protect them from predators like birds or cats.
Conclusion
Building a wood koi pond may seem intimidating, but with some planning, design, and careful construction, you can create a beautiful and natural-looking environment for your backyard. Follow these steps, and you can enjoy the tranquility and joy that come from keeping koi in your own backyard.