Creating a Beautiful and Budget-Friendly Koi Pond with IBC Totes

Koi ponds are a beautiful addition to any backyard or garden. However, they can also be quite expensive to build and maintain. If you’re looking for a budget-friendly way to create your own relaxing oasis, consider using IBC totes. These large plastic containers, often used for storing liquids, can be repurposed into unique and stylish koi ponds.
What is an IBC Tote?
IBC stands for Intermediate Bulk Container, which is essentially a large plastic tank used for transporting and storing liquids. They typically hold 275-330 gallons of liquid, making them the perfect size for a small koi pond. They’re made of durable, food-grade plastic, which makes them safe for aquatic life and resistant to weather and UV damage. Plus, you can often find them for sale at a fraction of the cost of traditional koi pond liners.

Steps to Creating Your IBC Tote Koi Pond
Step 1: Choosing Your Location
The first step to building your IBC tote koi pond is deciding where you want to put it. Look for a level area that gets plenty of sunlight and shade, if possible. Avoid areas that are too windy, as this can cause the water to evaporate quickly and make it difficult to maintain a healthy aquatic environment.
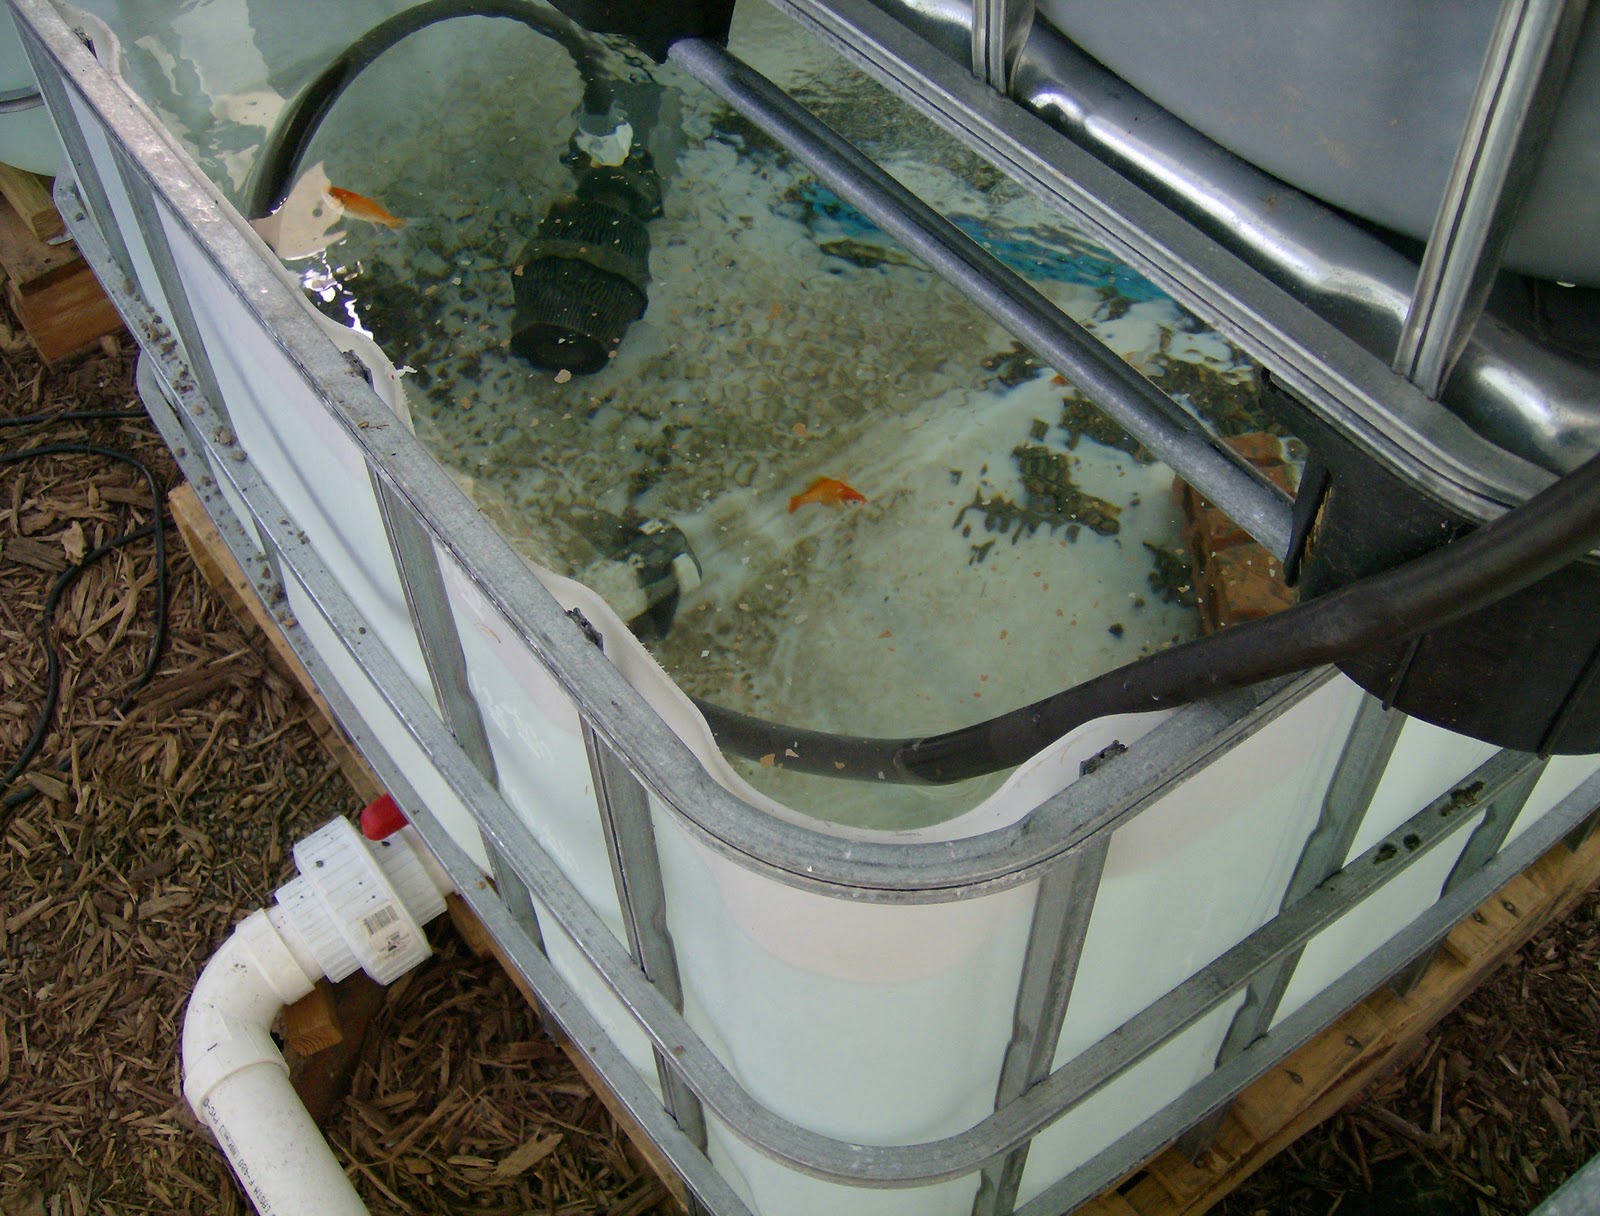
Step 2: Preparing Your Tote
Before you can use your IBC tote as a koi pond, you need to prepare it. Start by removing the valve on the bottom of the tote. This will create a drainage hole for excess water. Next, cut a hole in the top of the tote for your Aquascape pond filter. The filter will keep your pond water clean and healthy for your fish. You may also want to cut a viewing window in the side of the tote, so you can enjoy watching your fish at any time.

Step 3: Installing Your Tote
Once you’ve prepared your tote, it’s time to install it. Dig a hole that’s slightly larger than your tote and place it inside. If necessary, level the bottom of the hole with sand or gravel. Once your tote is in place, you can add stones, pavers, or other decoration around the edges to give it a natural look.

Step 4: Adding Your Aquatic Plants and Fish
Now comes the fun part - filling your pond with aquatic plants and fish! Start by adding a layer of sand or gravel to the bottom of the tote. This will provide a natural substrate for your plants and help keep your pond clean. You can then add a variety of aquatic plants, such as lilies, lotus, and water hyacinths. Not only do these plants help create a natural environment for your fish, but they also add color and beauty to your pond.

Once you’ve added your plants, it’s time to introduce your fish. Koi are a popular choice for backyard ponds, but make sure you choose the right size for your tote. You don’t want to overcrowd your pond and create an unhealthy environment for your fish. Start with just a few and let them grow and thrive in their new home.
Maintaining Your IBC Tote Koi Pond
Now that your koi pond is up and running, it’s important to keep the water clean and healthy for your fish. Be sure to remove any fallen leaves or debris from the surface of the water regularly. You may also need to add an anti-chlorine solution to remove any harmful chemicals from your tap water. Keep an eye on the water temperature and pH levels to make sure it stays within a healthy range for your fish.
Conclusion
Creating a koi pond doesn’t have to break the bank. With a little creativity and the use of IBC totes, you can have a beautiful and budget-friendly water feature in your own backyard. Plus, you’ll get to enjoy the relaxing and meditative qualities of watching your fish swim and play. So why not give it a try?