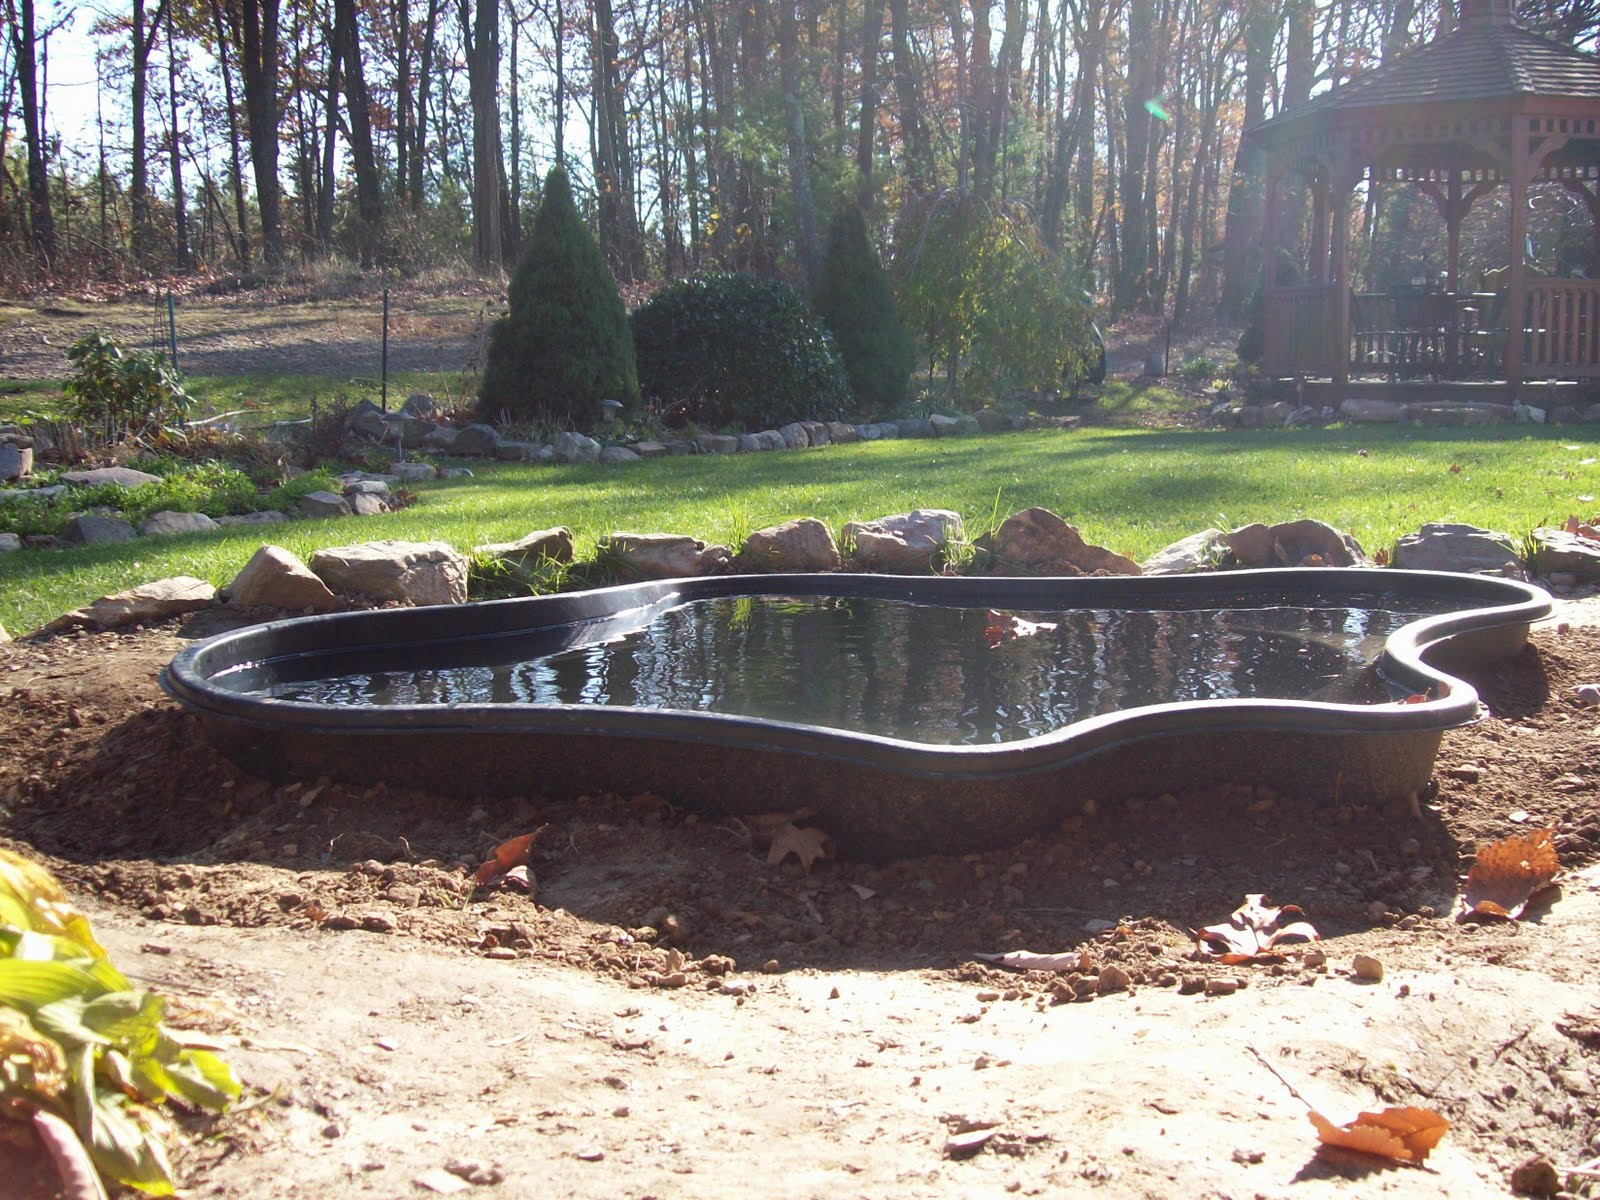
Create Your Own Zen Oasis: A Step-by-Step Guide on How to Build a Small Backyard Koi Pond
Introduction
A koi pond is a beautiful and tranquil addition to any backyard. Listening to the sound of water while watching the colorful fish swim is a great way to escape the stresses of daily life. Building a koi pond can seem like a daunting task, but with the right resources and guidance, it can be a rewarding DIY project that adds value to your home. In this guide, we will take you step by step on how to build a small backyard koi pond.
Step 1: Planning
Before starting, it’s essential to plan out your koi pond. Consider the size of your backyard and how much space you want to dedicate to your pond. You should also think about your budget, the materials you’ll need, and how much maintenance you’re willing to perform regularly. Taking these things into account will help you design a pond that’s perfect for your needs.
Step 2: Location
Choosing the right location for your koi pond is crucial. You want it to be visible from your house, but not located in a place that will harm your fish. Ideally, your koi pond should receive some sunlight, but not too much. Too much direct sunlight can cause algae growth and overheating. You should also avoid placing your pond beneath trees as falling leaves and debris can disrupt the water quality.

Step 3: Digging
Once you’ve planned out your pond and found the perfect location, it’s time to start digging. You’ll need to dig a hole that’s deep enough to hold water. The depth will depend on the size of your koi fish. As a general rule, your pond should be at least three feet deep. This depth will help protect your koi from predators and extreme temperatures. After digging, it’s important to level the bottom of the pond to avoid any potential low spots.

Step 4: Lining
Now that you’ve dug your pond, it’s time to line it with a flexible liner. The liner should be thick enough to withstand punctures but still flexible enough to conform to the shape of the pond. EPDM (ethylene propylene diene monomer) is an excellent choice, as it’s durable and long-lasting. After placing the liner, smooth out any wrinkles to avoid leaks or pooling water.
Step 5: Filtration and Pumps
Now that you’ve lined your pond with a flexible liner, you’ll need a filtration system to keep the water clean. A filter will remove debris and toxins from the water and keep the fish healthy. You’ll also need a pump to circulate the water and aerate it. Aeration will help maintain good water quality and provide oxygen for your koi.

Step 6: Adding the Koi
After installing your filtration system and pump, it’s time to add the koi to your pond. You should wait at least one week before introducing any fish. This waiting period will allow the water to cycle through and establish good bacteria for your fish to thrive. When shopping for koi, look for healthy fish that are active and have bright colors. You should also choose fish that are proportional to the size of your pond.

Step 7: Maintenance
Maintaining your koi pond is crucial for the health and safety of your fish. It’s essential to test the water quality regularly and perform water changes as needed. You should also trim back any overgrown plants and remove any debris that could settle at the bottom of the pond. A well-maintained koi pond can bring years of enjoyment and relaxation.
Conclusion
Building a small backyard koi pond can be a fun and rewarding DIY project. By following these seven steps, you’ll have all the tools and knowledge you need to create a beautiful and tranquil oasis in your backyard. Remember to plan carefully, choose the perfect location, and maintain your pond regularly. With these things in mind, your koi pond will bring you many years of enjoyment and relaxation.