Building a Beautiful Koi Pond with Concrete Blocks: A Step-by-Step Guide
Building a Beautiful Koi Pond with Concrete Blocks: A Step-by-Step Guide

If you love nature and want to bring some tranquility to your backyard, building a koi pond might be just what you need. Koi ponds not only add aesthetic appeal to your landscaping but also give you the pleasure of having your own aquatic ecosystem right in your backyard. And with the use of concrete blocks, building a beautiful and sturdy koi pond has never been easier. In this guide, we will show you how to build a koi pond with concrete blocks step-by-step, so you can have your own piece of heaven in your backyard.
Materials You Will Need
- Concrete blocks
- Cement (preferably waterproof)
- Gravel
- Sand
- Pond liner
- Submersible pump
- Hose
- Waterfall filter
- Plants and rocks (optional)
Step-by-Step Guide
1. Plan Your Pond

Before you start building, you need to plan your pond. Decide on the size of your pond, the shape you want, and the location where you want to place the pond. Make sure the location is in a spot where you can enjoy it from your house and also from your yard. Once you have decided on the location, mark the perimeter of the pond using stakes and a string. This will give you a clear idea of the shape and size of the pond you want to build.
2. Excavate the Area

Using a shovel or a backhoe, excavate the area according to your pond plan. Remove any rocks, roots, or debris that can damage the pond liner. Make sure the pond is deep enough for the koi to swim around comfortably. The depth of the pond should be at least 3 feet deep and the size of the pond should be at least 1000 gallons to accommodate 3-4 koi.
3. Create a Level Base

Before you lay down the concrete blocks, create a level base at the bottom of the pond. This can be done by leveling off the earth or by creating a concrete base. The base should be level and firm to support the weight of the pond liner and the water.
4. Lay the Concrete Blocks
Once the base is set, lay out the first row of concrete blocks around the perimeter of the pond. Make sure the blocks are level and flush against each other. Use the cement to secure each block to the next and to the base. Make sure each row of blocks is level before moving up to the next layer. You can add more layers of concrete blocks until you reach the desired height of your pond.
5. Install the Pond Liner
After the concrete blocks are laid and the cement has dried, it’s time to install the pond liner. A pond liner is necessary to prevent the water from seeping into the concrete blocks. Spread the pond liner over the entire interior of the pond and leave enough liner so that it spills over the edges of the pond. This will give you enough liner to secure and hide the liner under the surrounding rocks or bricks. Make sure you smooth out any creases or wrinkles in the liner to ensure a proper fit.
6. Add Gravel and Sand
After the pond liner is in place, add a layer of gravel and sand to the bottom of the pond. This will help to anchor the liner and also provide a base for plants or rocks. Make sure the layer of gravel is at least one inch thick and the layer of sand is about two inches thick.
7. Install the Pump and Waterfall Filter

A submersible pump is necessary to keep the water in the pond circulating and to prevent the growth of algae. The pump should be placed at the bottom of the pond and connected to a waterfall filter or a fountain head. The waterfall filter will provide aeration to the water and also help to filter out any debris or excess nutrients. The hose should connect the pump to the filter and then back to the pond.
8. Add Plants and Rocks (Optional)

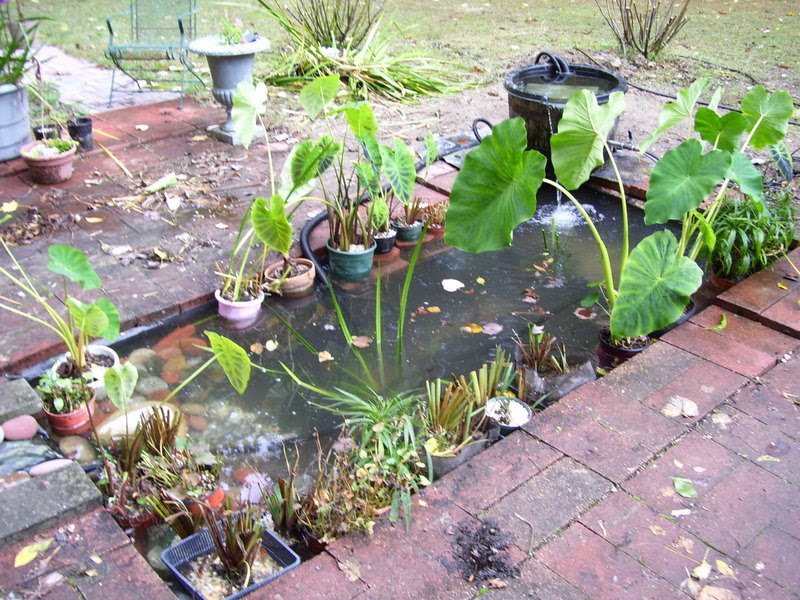
The last and final step is to add any plants, rocks, or any other decorations to your pond. Aquatic plants not only add to the aesthetics but also provide natural shade and shelter for the fish. Rocks or boulders can be used to create a waterfall or hide the pond liner. Make sure any plants or rocks are placed in a way that they do not interfere with the circulation of water or the functionality of the pumps and filters. Once everything is in place, fill the pond with water and turn on the pump and filters. That’s it! You now have your beautiful koi pond with concrete blocks.
Conclusion
Building a koi pond with concrete blocks is a cost-effective and easy way to add a beautiful water feature to your backyard. With proper planning and execution, you can have your very own aquatic oasis that brings you joy and tranquility every day. With the use of this step-by-step guide, you can easily build a koi pond that is beautiful, functional, and easy to maintain.