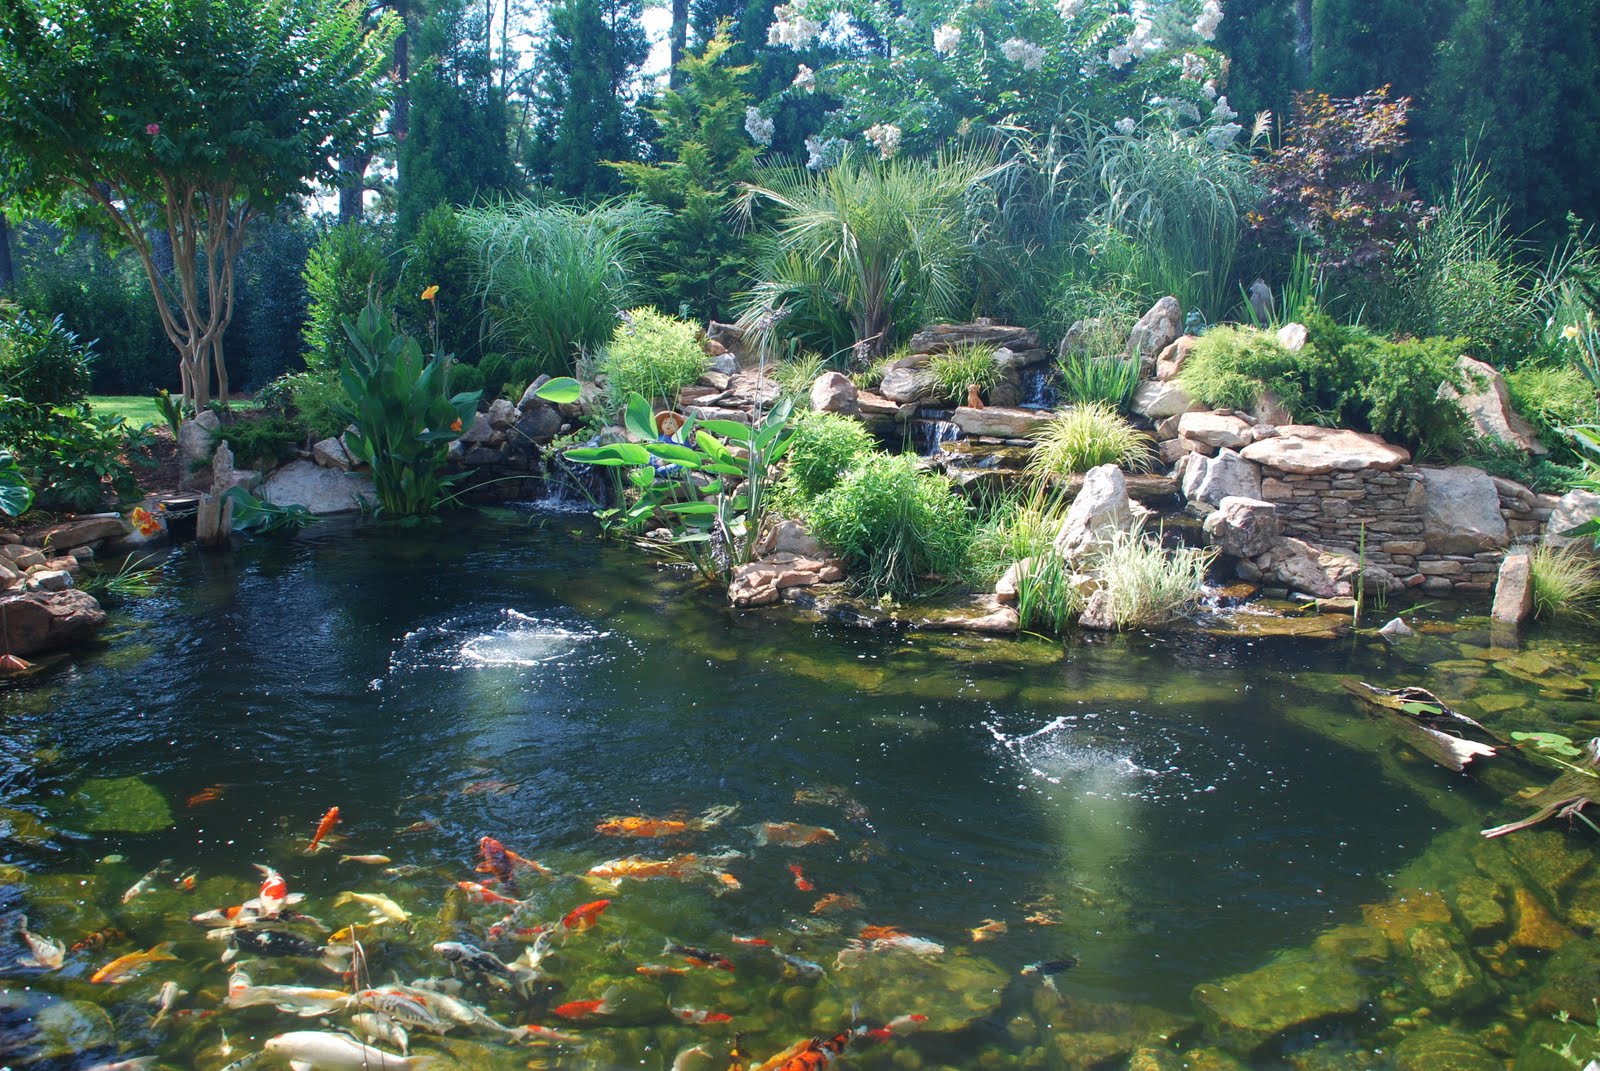
Build the Perfect Outdoor Koi Pond: A Comprehensive Guide
Introduction
Koi ponds are a beautifully relaxing addition to any outdoor space. Watching the colorful fish swimming about as you unwind in your backyard is a therapeutic experience that many homeowners dream of.
If you’re looking to build your own outdoor koi pond, congratulations! You’re embarking on an exciting and rewarding DIY project. This comprehensive guide will walk you through the ins and outs of building the perfect koi pond, from the planning stages to filling it up with water.
Step 1: Planning Your Koi Pond
Before you start digging, it’s important to plan out your koi pond. This will help ensure that you end up with a pond that not only looks great, but also provides a healthy environment for your koi. Here are the key factors to consider as you plan:
Size
The size of your koi pond will depend on the number of fish you plan to keep. As a general rule, you’ll need about 250 gallons of water for every adult koi. So if you plan to keep five adult koi, you’ll need a pond that holds at least 1,250 gallons of water. Keep in mind that your koi will grow over time, so it’s a good idea to build a slightly larger pond than you think you’ll need.
Location
Choose a spot in your yard that gets at least 4-6 hours of direct sunlight daily. Koi need sunlight to be healthy and to show off their colors. Avoid areas that are heavily shaded by trees or buildings.
Design
When it comes to the design of your koi pond, the possibilities are endless. You can choose a traditional Japanese-style pond with rocks and waterfalls, or a modern minimalist design with clean lines and sleek surfaces. Consider what style will complement the rest of your outdoor space and what type of features you want to include.
Step 2: Building Your Koi Pond
With your plan in place, it’s time to start building your koi pond. Here’s how to get started:
1. Mark out the area
Use stakes and string to mark out the perimeter of your pond. Use a level to ensure that the area is flat and even. Dig out the soil within the marked area to the desired depth, keeping in mind that your pond should be at least three feet deep to provide a healthy environment for your koi.
2. Install the liner
Once you’ve dug out your pond, it’s time to install the liner. Choose a high-quality EPDM or PVC liner that’s designed for ponds. Lay the liner over the hole and smooth out any wrinkles or bubbles. Trim any excess liner around the edges and secure it in place with rocks or pavers.
3. Add a filter and pump
To keep your koi healthy, you’ll need to install a filter and pump. The filter will help remove debris and keep the water clean, while the pump will circulate the water and provide oxygen for your fish. Position the pump and filter at opposite ends of the pond for maximum efficiency.
Step 3: Adding the Finishing Touches
With the main construction complete, it’s time to add the finishing touches to your koi pond:
1. Add Rocks and Plants
Rocks and plants are an important part of any outdoor pond. They provide hiding places for your koi and create a natural-looking environment. Choose a variety of plants that are suitable for ponds, such as water lilies and rushes, and position rocks around the perimeter and in the water for a natural look.
2. Introduce Your Fish
Once your pond is complete, it’s time to introduce your koi. Start slowly by adding a few fish at a time, allowing them to acclimate to the water and the new environment. Monitor your water quality regularly and make adjustments as needed to ensure your koi stay healthy.
Conclusion
Building an outdoor koi pond is a rewarding DIY project that can add beauty and tranquility to your home. With careful planning and attention to detail, you can create a healthy environment for your koi and a relaxing retreat for yourself. Follow these steps to build the perfect koi pond and start enjoying the benefits of outdoor water gardening today!


