All You Need to Know About Installing a Bottom Drain in Your Koi Pond
Introduction
Koi ponds are the perfect way to beautify your backyard. Not only do they enhance the aesthetics of your outdoor space, but they also bring peace and tranquility into your home. Installing a bottom drain in your koi pond is essential to ensure the health and safety of your koi fish. It is important to understand how a bottom drain works in a pond and how to install it properly.
What is a Bottom Drain?
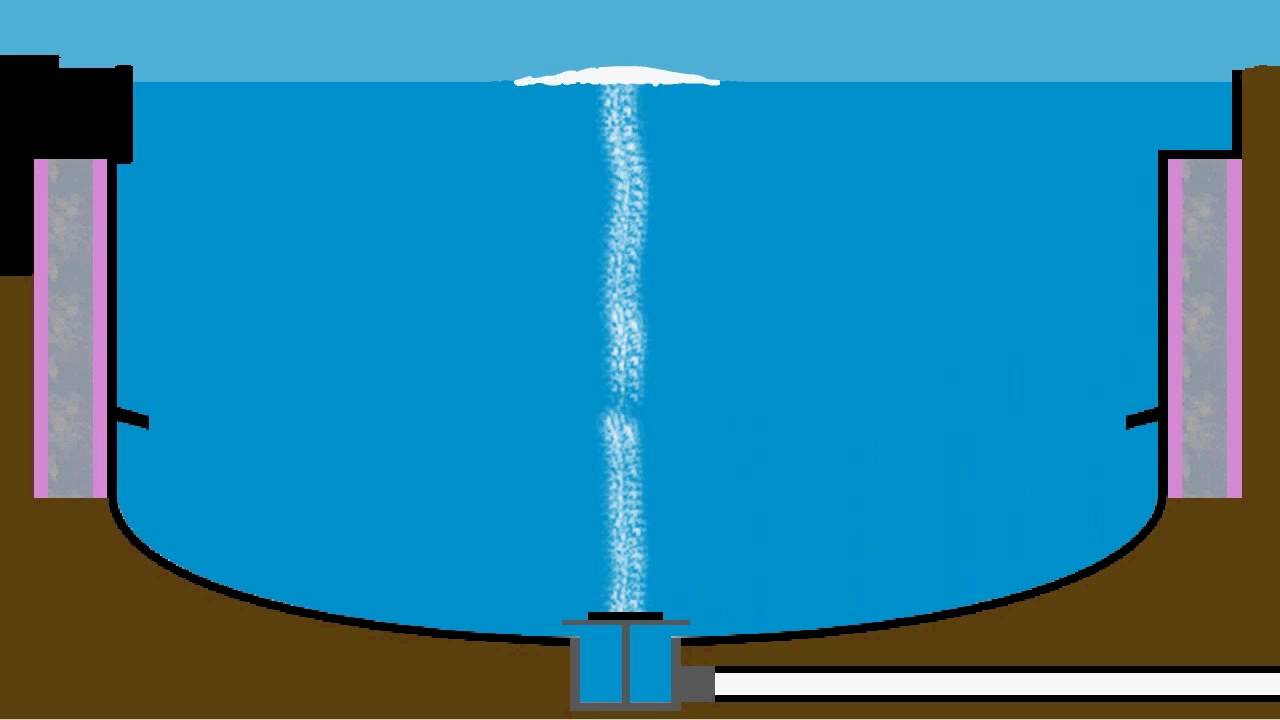
Bottom drains are designed to remove debris and waste from the bottom of your pond. They work by pulling water and debris into a pipe, which is then either diverted to a filtration system or pumped out of the pond entirely. A bottom drain is an essential component of any koi pond as it helps ensure the water quality is maintained and the fish are healthy.
Why Install a Bottom Drain?
The primary reason for installing a bottom drain is to ensure that debris and waste are effectively removed from the bottom of the pond. This reduces the amount of time and effort required for routine cleaning and maintenance of the pond. Additionally, debris and waste at the bottom of the pond can cause poor water quality, which can be harmful to the koi fish living in the pond. Installing a bottom drain can help prevent these issues by promoting water circulation and improving the overall quality of the water.
Steps for Installing a Bottom Drain
Step 1 – Select the Right Bottom Drain
There are different types of bottom drains available in the market, and selecting the right one is crucial for the proper functioning of your koi pond. The type of bottom drain you select will depend on the size of your pond and the type of filtration system you have. Make sure to consult with a professional before purchasing a bottom drain.
Step 2 – Prepare the Pond
Once you have selected the right bottom drain, it’s time to prepare the pond for installation. It is important to turn off all power to the pond before starting the installation process. Drain the water from the pond and remove any debris or rocks from the bottom of the pond.
Step 3 – Install the Bottom Drain
Follow the instructions provided with the bottom drain to ensure the proper installation of the drain and the necessary plumbing. In general, the installation process involves creating a hole in the bottom of the pond, inserting the bottom drain into the hole, and securing the drain with concrete. Ensure that the drain is level and flush with the bottom of the pond.
Step 4 – Connect the Plumbing
Once the bottom drain is installed, connect the necessary plumbing to the drain, which will either divert the water to a filtration system or pump it directly out of the pond. Ensure that the plumbing is properly secured and free from any leaks.
Step 5 – Fill the Pond with Water
Now that the bottom drain and plumbing are installed, it is time to fill the pond with water. Turn on the power and let the water circulate around the pond for 24 hours before introducing any koi fish to ensure the quality of the water is maintained.
Conclusion
Installing a bottom drain in your koi pond is essential to ensure the health and longevity of your koi fish. Not only does it improve the overall quality of the water, but it also reduces the amount of maintenance required to keep the pond clean. Make sure to follow the proper installation procedures to ensure the successful installation and proper functioning of the bottom drain.
Images


