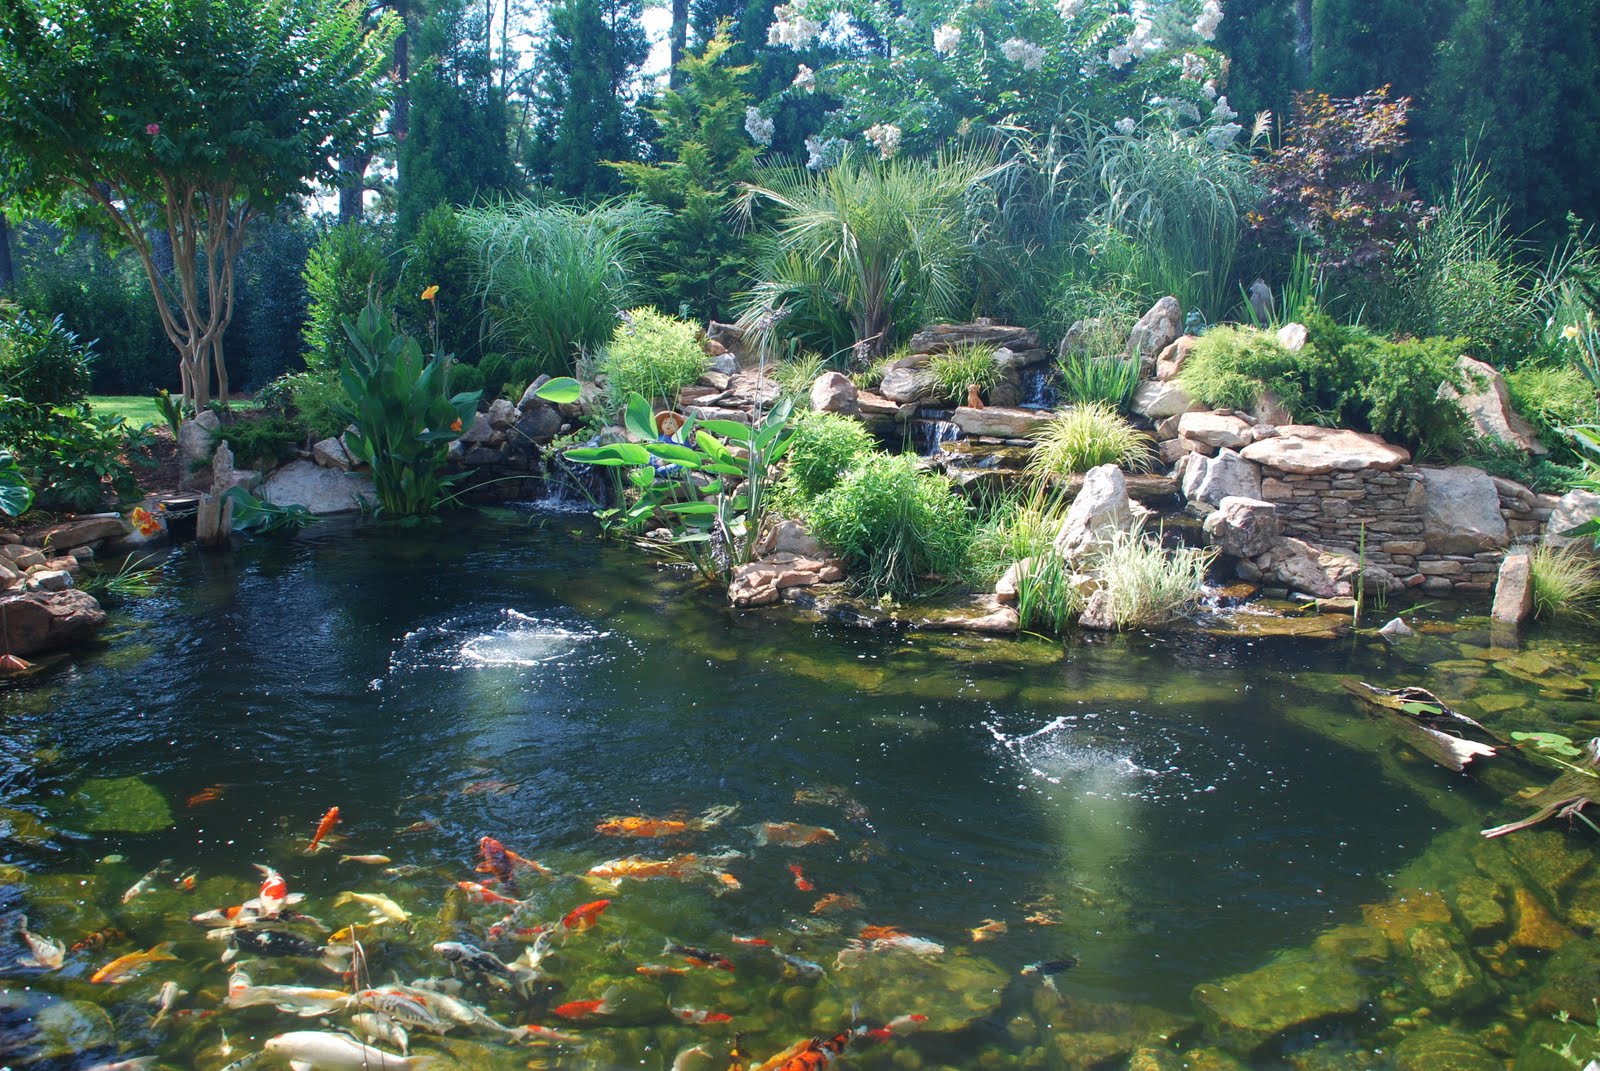
A Step-by-Step Guide on How to Build a Brick Koi Pond
Introduction
Koi ponds can be a peaceful addition to any garden or backyard. They not only provide a serene setting but also help people relax after a long day at work. With a little bit of hard work and some patience, you can build a beautiful brick koi pond that will last for many years. In this article, we will be discussing how to build a brick koi pond, step-by-step.
Step 1: Plan and Prepare the Site
Before you start building, you need to select a spot for your koi pond. The spot should be level, free of roots and debris, and receive sufficient sunlight. Once you have selected the site, you need to plan the size, shape, and depth of the pond. Additionally, you need to consider the type of soil and drainage in the area. You can consult a professional if you are not sure about these details.
Step 2: Excavate the Site
Once you have planned the pond, you need to excavate the site. This involves digging the pond to the desired depth and shape. You can use a shovel or rent a small excavator for this process. Make sure to remove any stones, roots, or debris from the site and level the bottom of the pond as much as possible.

Step 3: Create the Base and Walls of the Pond
Next, you need to create the base and walls of the pond. Mix cement and sand in a ratio of 1:3, and pour it into the base of the pond to create a smooth surface. Then, using bricks, build the walls of the pond. Spread a layer of cement over each brick to hold it in place. Make sure to leave spaces for the drain and water circulation system.

Step 4: Install the Drain and Water Circulation System
After the walls are built, you need to install the drain and water circulation system. This includes a pump and pipes that circulate water in and out of the pond. You can also install a filter system to keep the water clean. Make sure to test the system before moving on to the next step.
Step 5: Lay the Brick Pavers
Once the drain and water circulation system is installed, you need to lay the brick pavers. This includes the coping around the pond and the patio area surrounding it. Use the same cement and sand mix to lay the pavers, and make sure they are level and firmly in place. You can also use a sealer to protect the bricks from water damage.
Step 6: Fill the Pond with Water
After the bricks are laid, you can fill the pond with water. Make sure to fill it slowly to avoid damaging the walls or the pavers. You can also add plants, rocks, and other decorations to the pond to create a natural environment for your koi fish.
Step 7: Add the Koi Fish
Last but not least, you can add the koi fish to the pond. Make sure the water temperature and pH levels are suitable for the koi. You can buy koi fish from local pet stores or koi breeders. Take care of the fish by feeding them regularly, cleaning the pond, and maintaining the water quality for their health and wellbeing.

Conclusion
Building a brick koi pond can be a challenging but rewarding project. It requires careful planning, hard work, and attention to detail. However, once you complete the project, you will have a beautiful and tranquil pond that will last for many years. It will not only give you a peaceful setting to enjoy but also provide a natural habitat for your koi fish. We hope this guide has helped you to understand how to build a brick koi pond, step-by-step.