5 Simple Steps to Building an Attractive Waterfall for Your Koi Pond
Introduction
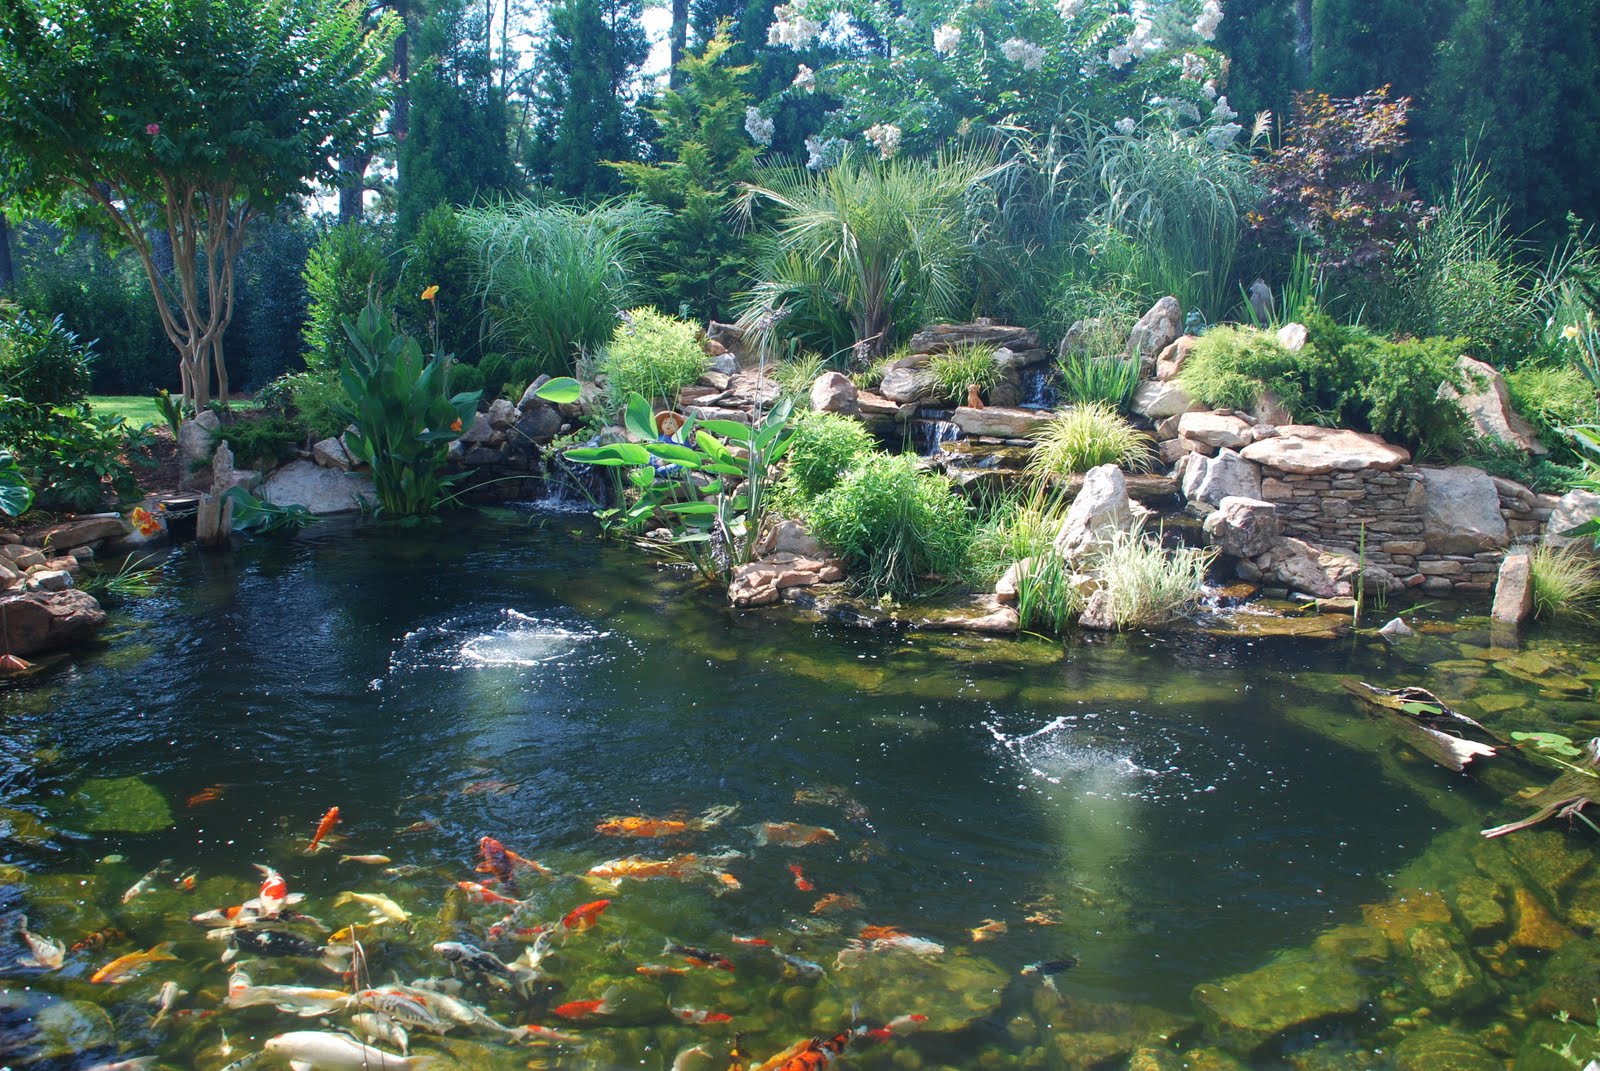
Koi ponds are beautiful and tranquil additions to any garden or backyard. They add life, color and movement to the outdoor space. However, what if you added a waterfall to your koi pond? Imagine the sound of trickling water and the sight of water cascading over a rock wall. Not only does a waterfall enhance the beauty of your koi pond, but it also proves beneficial for your fish. In this article, we will guide you through building a waterfall for your koi pond.
Tools and Materials
Before getting started, you need to prepare the necessary tools and materials. Here is a list of those things:
- Shovel
- Heavy plastic bags or landscaping fabric
- Pond liner
- Flexible PVC pipe
- Waterfall foam
- Large rocks or boulders
- Water pump and tubing
Step 1: Plan and Design
The first thing you need to do is decide on the size and design of your waterfall. Measure the length and width of your pond and draw a rough sketch of the design. See where you want the waterfall to be placed. Keep in mind that the waterfall should not be too close to the pond because it can cause water splashing and disturbance in the pond.
Step 2: Digging and Shaping the Ground
Using a shovel, dig a shallow recess where you want your waterfall to be, making sure it is deep enough to accommodate the rocks or boulders you will use. Then, begin shaping the ground to create the grade or slope that the waterfall will follow. Make sure the slope is gradual to allow water to flow smoothly and prevent erosion. You can also add curves and bumps to create a more natural look.
Step 3: Lining the Base
Once you have shaped the ground, line the base with heavy duty plastic bags or landscaping fabric to prevent soil and dirt from mixing with the water. The fabric should cover the entire area where the water will flow down from the waterfall.
Step 4: Installing the Waterfall Foam and Rocks
Using a waterfall foam, start spraying it over the base lining, creating an even layer. This foam will help hold the rocks in place, giving it a natural look. Place the large rocks or boulders on top of the foam, following the design you made earlier. The rocks should be stacked in such a way that they create channels for the water to flow through.
Step 5: Plumbing and Pump Installation
Once the rocks are in place, install the plumbing and water pump. Use a flexible PVC pipe to run from the pump to the top of the waterfall (where the water cascades down from). The tubing should also be attached to the back of the waterfall wall. Finally, connect the tubing to the pump and switch it on. If done correctly, you should have a beautiful waterfall for your koi pond.
Conclusion
Building a waterfall for your koi pond is not rocket science, and can be easily done if you follow the outlined steps. Not only will it add beauty and aesthetic appeal, but it will also improve the water quality in your pond, provide better aeration and oxygen flow for your fish, and create a relaxing environment all year round.


