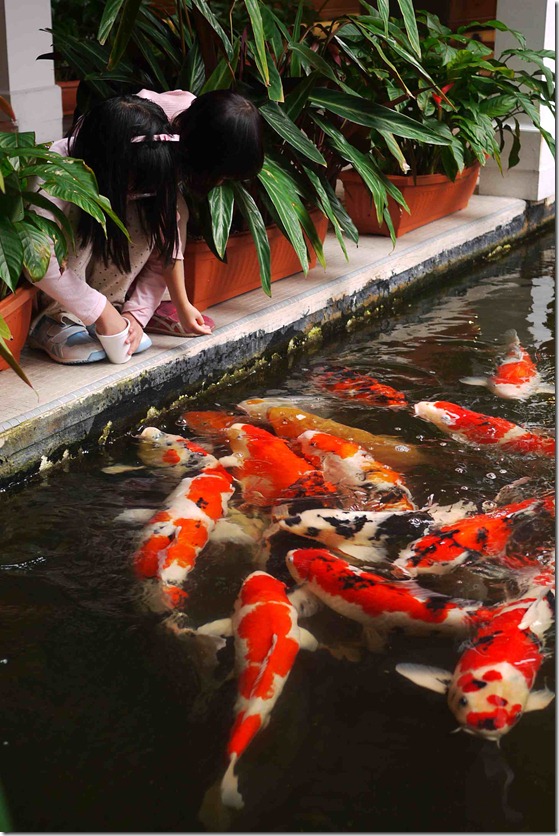
10 Easy Steps Guide to DIY Koi Pond Build: The Ultimate Guide For Beginners
10 Easy Steps Guide to DIY Koi Pond Build: The Ultimate Guide For Beginners
Koi ponds are a beautiful and relaxing addition to any backyard or garden. With their vibrant colors and peaceful presence, it’s no wonder that more and more people are turning to koi ponds as a way to enhance their outdoor living space. However, hiring a professional to install a koi pond can be expensive, which is why many homeowners opt for a DIY approach. In this guide, we’ll go through the 10 easy steps you need to follow to successfully build your own DIY koi pond. So, let’s get started!
Step 1: Plan Your Koi Pond Build
The first step in building your own koi pond is to plan the layout and design. Here are some important considerations you’ll need to keep in mind:
-
- Determine the size of your pond – consider the number of koi you want to keep and their expected size
-
- Decide on the shape and style of your pond – round, oval, kidney-shaped, etc.
-
- Choose the location of your pond – find a spot that receives optimal sunlight and shade
-
- Decide on the depth of your pond – koi ponds should be at least 2-3 feet deep to provide sufficient living space for the koi and promote healthy aquatic plant growth
-
- Determine if you want to include a waterfall or other water feature – this can add to the beauty and tranquility of your pond

Step 2: Get Your Materials
Once you have a clear idea of the design and layout of your koi pond, it’s time to gather your materials. Here’s a list of the basic materials you’ll need to build your koi pond:
-
- PVC liner or preformed pond liner
-
- Pump and filter system
-
- Koi food and water treatment chemicals
-
- Rocks, gravel, and aquatic plants
-
- A shovel or backhoe to dig the hole for your pond

Step 3: Excavate the Pond Area
With your plan and materials in hand, it’s time to start digging! Use a shovel or backhoe to dig out the area where your pond will be located. Remember to factor in the depth and shape you decided on in step 1. Be sure to remove any rocks or debris from the area, as these can puncture your liner and cause leaks.
Step 4: Install the Pond Liner
Once your hole is dug, it’s time to install the liner. Place the liner in the hole and smooth out any wrinkles or creases. Be sure to leave some extra liner around the edge of the pond to secure it in place. You can use rocks or pavers to hold down the liner and prevent it from shifting.
Step 5: Install the Pump and Filter System
The next step is to install the pump and filter system. This will help keep the water in your pond clean and healthy for your koi. Follow the instructions that came with your pump and filter system carefully to ensure it’s installed correctly.
Step 6: Add Rocks and Gravel
Now it’s time to add some decorative touches to your pond. Start by filling the bottom of the pond with a layer of small rocks or gravel. This will help provide a substrate for your aquatic plants to grow on and will also add a natural look to your pond.

Step 7: Install Aquatic Plants
Aquatic plants are an important part of any koi pond. They help filter the water, provide oxygen, and offer shade and shelter for your koi. Consider placing a mix of submerged, floating, and marginal plants around your pond for optimal water quality and aesthetics. Be sure to research the specific needs of each plant and adjust your pond accordingly.

Step 8: Fill Your Pond with Water
With all the components of your koi pond in place, it’s time to fill it with water. Use a garden hose to slowly fill your pond, being careful not to disturb the rocks or plants. As the water level rises, keep a close eye on the liner to make sure it stays in place.
Step 9: Add Your Koi
Once your pond is filled with water and has been running for a few days to establish proper water conditions, it’s time to add your koi. Start with just a few fish to allow the environment to adjust, then gradually add more over time. Koi are lively creatures that will provide hours of enjoyment, so sit back and enjoy!

Step 10: Maintenance and Care
Congratulations, you’ve successfully built your own DIY koi pond! However, the work doesn’t stop there. Here are some important maintenance and care tips to keep your pond running smoothly and your koi healthy:
-
- Perform regular water tests to monitor pH, ammonia, and nitrate levels
-
- Clean your pump and filter system regularly to prevent clogs and maintain water quality
-
- Feed your koi a high-quality diet and don’t overfeed
-
- Keep an eye out for signs of illness or disease in your koi
-
- Remove any dead leaves or debris from your pond regularly to prevent them from decomposing and causing water quality issues
-
- Consider adding a UV sterilizer or other water treatment equipment to help keep your water clear and healthy

Conclusion
Building your own DIY koi pond can be a rewarding and enjoyable experience. By following these 10 easy steps and using good planning and material selection, you’ll have a beautiful and functional koi pond that you can be proud of. So, roll up your sleeves, grab a shovel, and start building today!